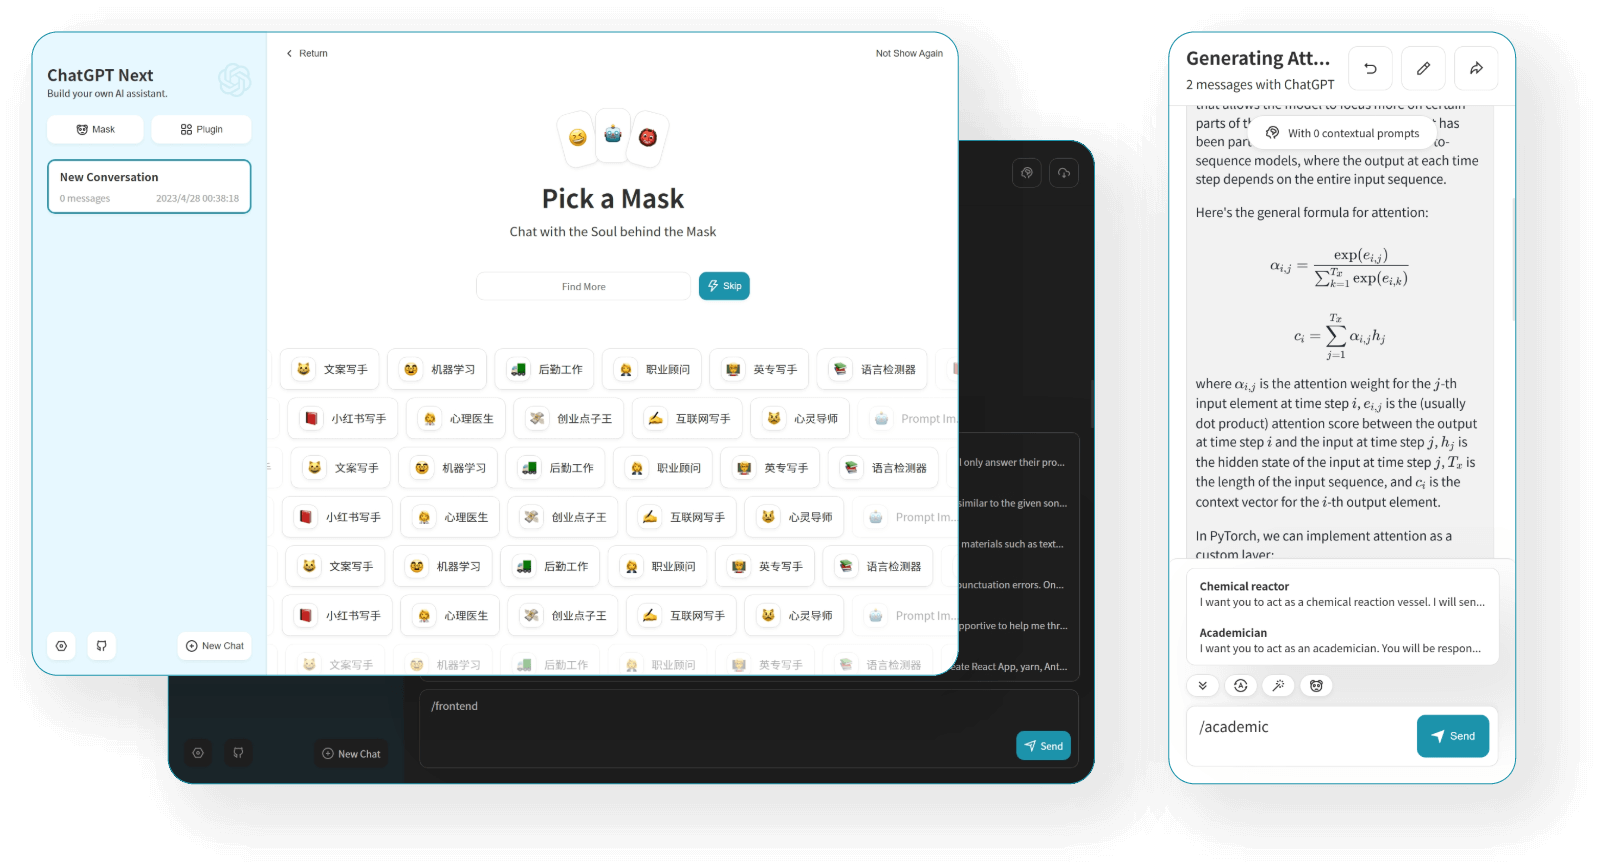
ChatGPT Next Web
ChatGPT Next Web is Well-designed cross-platform ChatGPT web UI, used for Generative AI . A well-designed cross-platform ChatGPT UI (Web / PWA / Linux / Win / MacOS)

Prepare
When referring to this document to use ChatGPT Next Web, please read and ensure the following points:
-
Login to Websoft9 Console and find or install ChatGPT Next Web:
- Go to My Apps listing applications
- Go to App Store installing target application
-
This application is installed by Websoft9 console.
-
Please check the application's usage license agreement to ensure compliance.
-
Configure the domain name or server security group opens external network ports for application access.
Getting started
Initial setup
-
After completing the installation of ChatGPT Next Web in the Websoft9 console, get the applicaiton's Overview and Access information from My Apps
-
Open the Settings at the bottom left corner of ChatGPT Next Web.
-
Set the password from the Websoft9 Console for the Access Password in the Settings section.
-
Select an item from the Model list.
-
Start using the application
Switch Azure Services
Azure provides optimized OpenAPi services, and ChatGPT Next Web supports access to Azure AI.
-
Go to My Apps > ChatGPT Next Web > Compose > Go to Edit Repository, and edit the file .env
-
Delete OpenAI-related variables and enter Azure-related information
AZURE_URL=
AZURE_API_KEY=
AZURE_API_VERSION=2023-12-01-preview -
Redeploy the application to apply the changes
Configuration options
- Multilingual (√)
- Multi-model provider (√)
- OpenAI Multiple versions (√)
- Multi-user (√)
- Mobile (√)