TeamCity
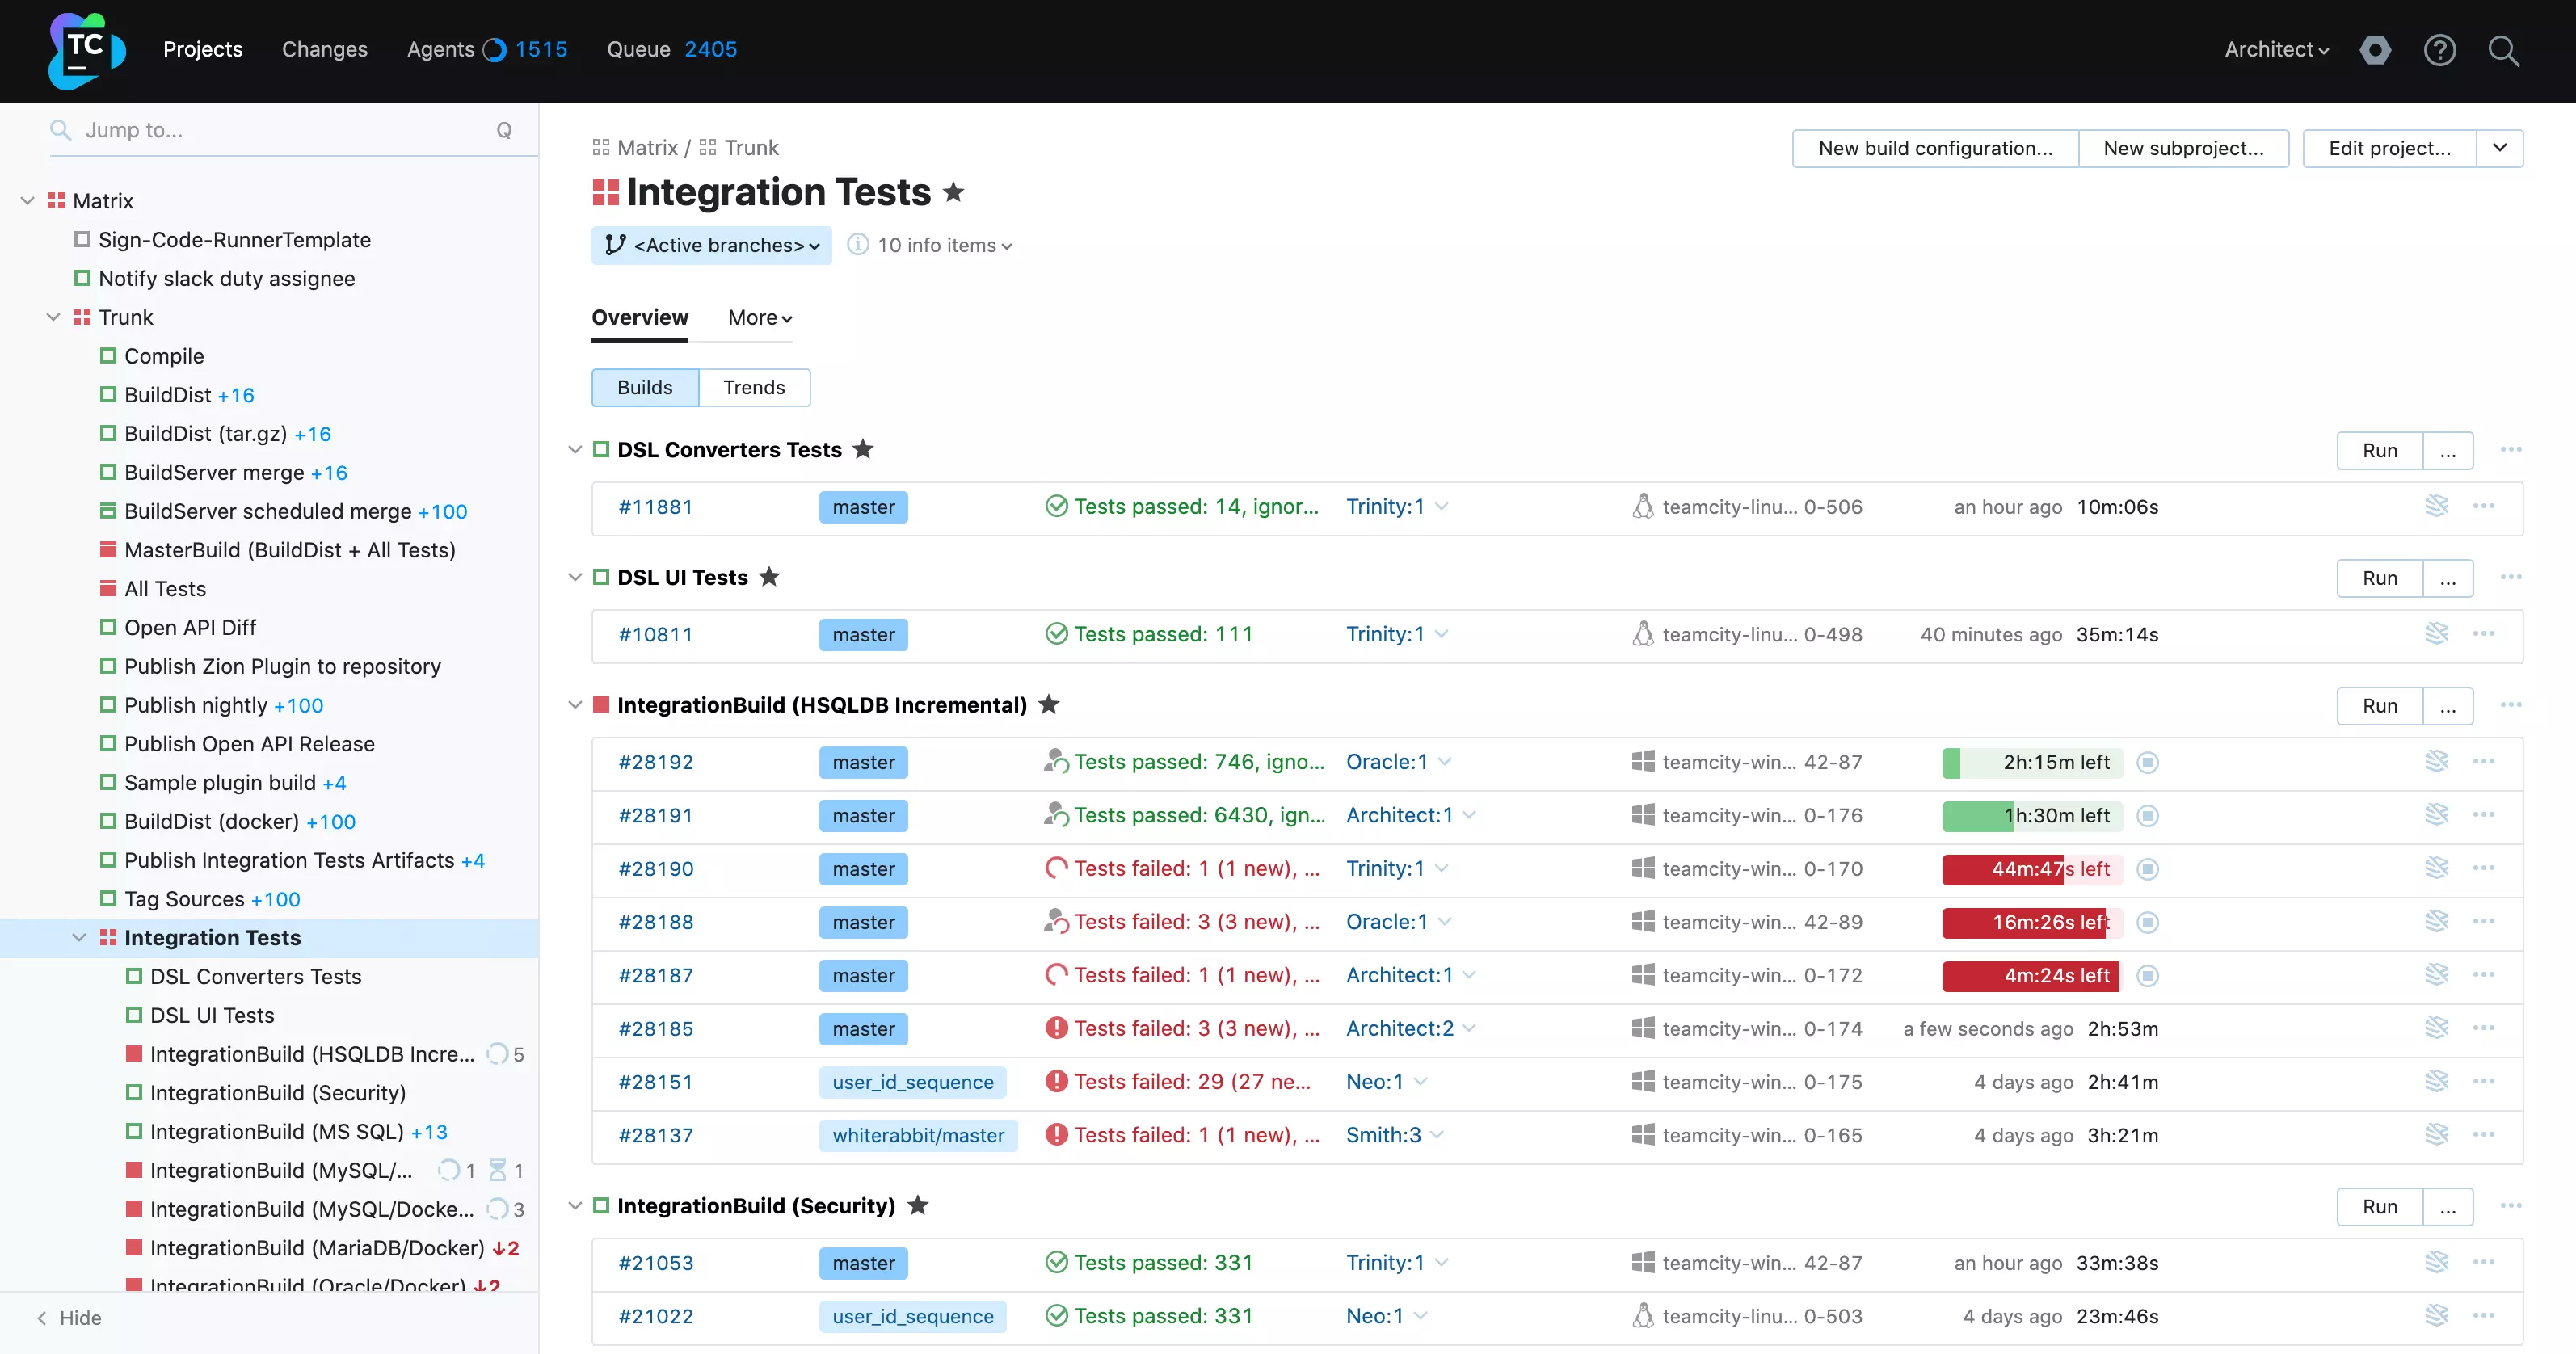
TeamCity is self-contained, open source automation server, used for CI/CD Pipeline All-in-one DevOps . TeamCity is a general-purpose CI/CD software platform that allows for flexible workflows, collaboration and development practices.

Prepare
When referring to this document to use TeamCity, please read and ensure the following points:
-
Login to Websoft9 Console and find or install TeamCity:
- Go to My Apps listing applications
- Go to App Store installing target application
-
This application is installed by Websoft9 console.
-
Please check the application's usage license agreement to ensure compliance.
-
Configure the domain name or server security group opens external network ports for application access.
Getting Started
Initial Setup
-
After completing the installation of TeamCity in the Websoft9 Console, retrieve the application's Overview and Access information from My Apps.
- Access the URL in the Access section.
- Retrieve the database information from the Database section.
-
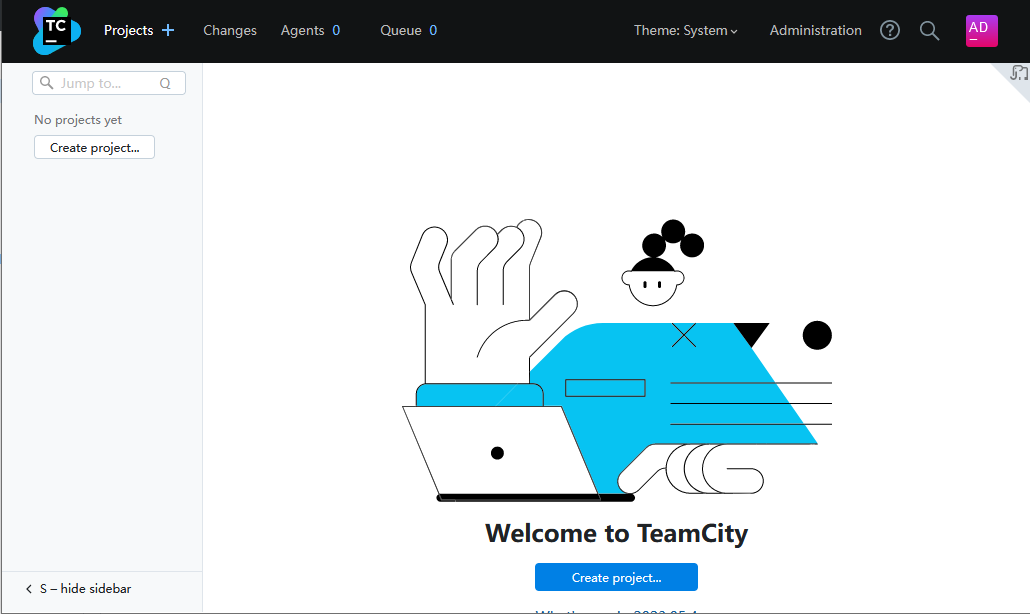
Access the URL to reach the initialization page and select proceed to start the next steps.
-
Fill in the database information in the Database Connection Setup:
- Database Type: MySQL (Select and click the link to download the JDBC driver)
- Database Host: Retrieve this from the TeamCity application management page.
- Database Name:
teamcity - Username:
teamcityorroot - Password: Retrieve this from the TeamCity application management page.
-
After completing the account creation steps, log in to the TeamCity backend.

-
Edit the Server URL: Go to TeamCity Console > Administration > Global Settings.
Connect the TeamCity Agent
The TeamCity Agent is launched by default within TeamCity.
Go to TeamCity Console > Agents > UNAUTHORIZED AGENTS > Authorize to connect to the TeamCity Agent.
Configuration Options
- Configure Server URL: Go to TeamCity Console > Administration > Global Settings.
Administration
Troubleshooting
Agent Cannot Connect to TeamCity?
Ensure that the TeamCity Agent hostname does not contain an underscore ("_") when connecting to TeamCity.