ActiveMQ
ActiveMQ is Popular Open Source Message Middleware, used for Message Queue . Apache ActiveMQ is the most popular and powerful open source messaging and Integration Patterns server.

Prepare
When referring to this document to use ActiveMQ, please read and ensure the following points:
-
Login to Websoft9 Console and find or install ActiveMQ:
- Go to My Apps listing applications
- Go to App Store installing target application
-
This application is installed by Websoft9 console.
-
The purpose of this application complies with the apache2 open source license agreement.
-
Configure the domain name or server security group opens external network ports for application access.
Getting started
Login to ActiveMQ Console
-
After completing the installation of ActiveMQ in the Websoft9 console, get the applicaiton's overview, credentials and access information from My Apps
-
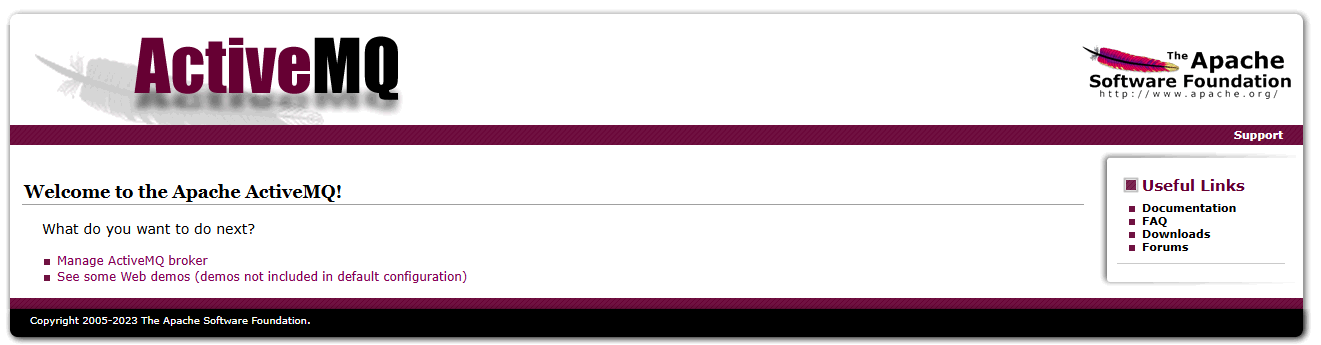
Use a local computer browser to access ActiveMQ, where you can see the Welcome page
-
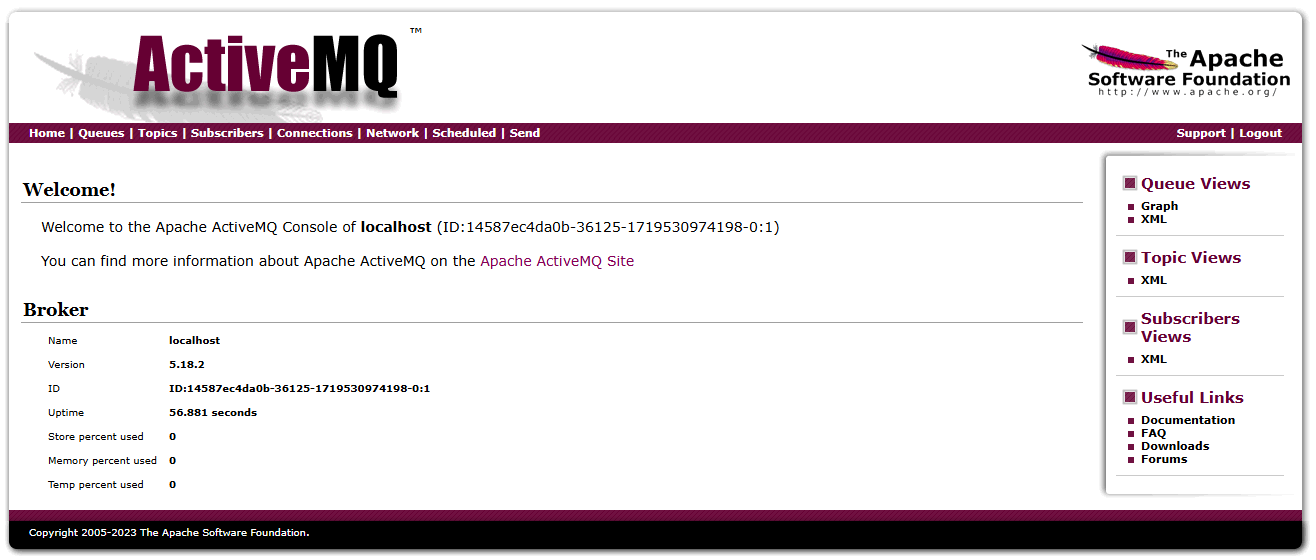
Click on the link Manage ActiveMQ broker to access the management page
Use Guide
Refer to the official documentation Using Apache ActiveMQ to quickly understand its usage.
Configuration options
Administer
- To change the ActiveMQ Console password: Navigate to Websoft9 Console > My Apps > ActiveMQ > Compose > Go to Edit Repository to edit the .env file.