Parse Server
Parse Server is Backend as Server based on Node, used for BaaS . Parse Server is an open source backend that can be deployed to any infrastructure that can run Node.js.
Prepare
When referring to this document to use Parse Server, please read and ensure the following points:
-
Login to Websoft9 Console and find or install Parse Server:
- Go to My Apps listing applications
- Go to App Store installing target application
-
This application is installed by Websoft9 console.
-
The purpose of this application complies with the apache2 open source license agreement.
-
Configure the domain name or server security group opens external network ports for application access.
Getting started
Initial setup
-
When completed installation of Parse Server at Websoft9 Console, get the applicaiton's Overview and Access information from My Apps
-
Since Parse Sever cannot be accessed via IP, it must do a domain name first
-
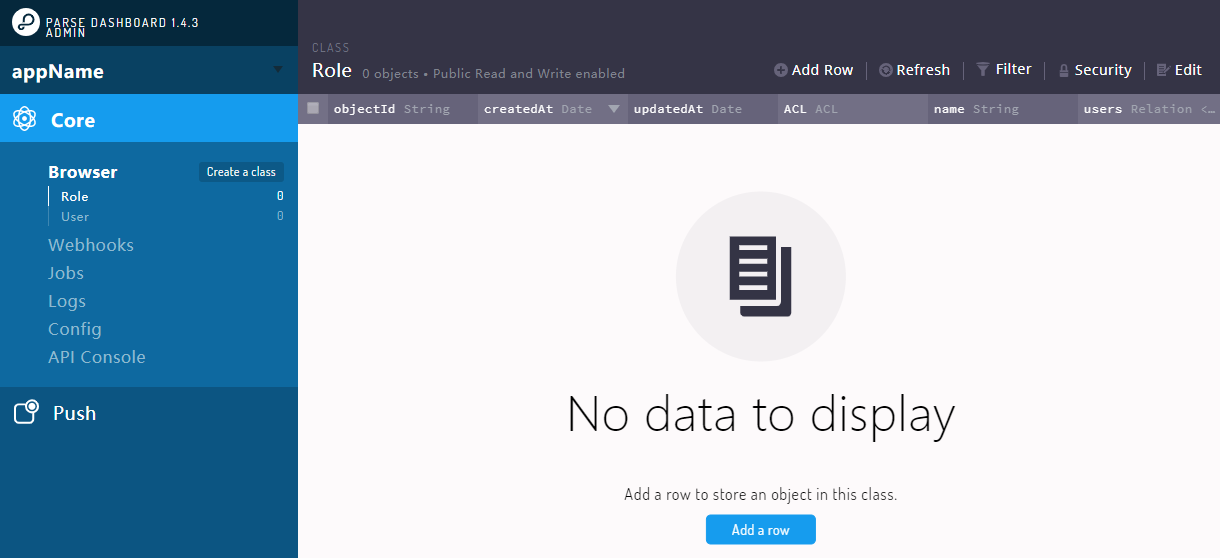
Enter your account number and password, and the interface after login is as follows