WordPress
WordPress is The open source publishing platform of choice for millions of websites worldwide, used for Website Builder Low Code and No Code eCommerce Marketing Blog Digtal for SCM and Operation Software Labs for High Education Content Marketing Home Server . 42% of the web is built on WordPress. More bloggers, small businesses, and Fortune 500 companies use WordPress than all other options combined. Join the millions of people that call WordPress.com home.
Prepare
When referring to this document to use WordPress, please read and ensure the following points:
-
Login to Websoft9 Console and find or install WordPress:
- Go to My Apps listing applications
- Go to App Store installing target application
-
This application is installed by Websoft9 console.
-
The purpose of this application complies with the GPL-2.0 open source license agreement.
-
Configure the domain name or server security group opens external network ports for application access.
Getting Started
-
After completing the installation of WordPress via the Websoft9 Console, retrieve the application’s Overview and Access information from My Apps.
-
Enter the installation guide and select the language (you can change the language after installation).
-
Set your administrator account, password, and e-mail address.
-
After installation, access the backend (admin dashboard URL:
/wp-admin).
Building a Website
Steps to build a website using WordPress:
- Choose a theme: You can purchase it from the official theme marketplace or a third-party marketplace.
- Customize the public parts of the website based on the theme: Menu, header, footer, etc.
- Customize the pages.
- Add articles and integrate them with the pages.
Website Statistics
There are two options available for tracking statistics:
-
Third-party web statistics software (recommended):
- Install the open-source web statistics software Matomo.
- Install the WP-Matomo plugin in WordPress and connect it to the Matomo server.
-
WordPress Plugins: Use WordPress-specific plugins for basic statistics tracking.
Best Practices
Migrating to Websoft9 Hosting Platform
- Install a new WordPress instance via the Websoft9 App Marketplace (destination site).
- Follow one of these migration methods:
Migrate using a Plugin (Recommended)
- Install the All-in-One WP Migration and Backup plugin on both source and destination sites.
- Export the complete backup from the source site and download it locally.
- Import the backup file on the destination site using the same plugin.
Manual Migration
- Transfer the wp-content directory from the source to the destination site:
- File Copy: If the source and destination are on different servers, use remote copying to transfer files.
- Directory Mount: If both sites are on the same server, modify the application’s orchestration file and mount
/var/www/html/wp-content.
- Update the directory permissions to
www-data. - Export the database using phpMyAdmin from the source site and import it into the destination site.
- Update the database connection details in the destination site's
wp-config.phpfile.
Enabling Object Storage
To improve performance, move media files to an external object storage system:
- Prepare a third-party object storage service or install MinIO.
- Install the Media Cloud or OSS Upload plugin in WordPress to connect to the object storage service.
Enabling Redis for cache
You can enable Redis cache for your WordPress by below steps:
-
Login to Websoft9 Console, and install Redis from Apps Store
-
Add below segment to WordPress configuration file and modify
WP_REDIS_HOST,WP_CACHE_KEY_SALTby yourselfdefine( 'WP_CACHE', true );define('WP_CACHE_KEY_SALT', 'yourdomain.com');define('WP_REDIS_HOST', 'redis_3ay7i');define('WP_REDIS_PORT', '6379');define('WP_REDIS_TIMEOUT', '1');define('WP_REDIS_READ_TIMEOUT', '2');define('WP_REDIS_DATABASE', '0'); -
Login to Websoft9 Console, install Redis Object Cache plugin and enable it
-
Set your Redis Object Cache plugin and make sure it have successful connection with Redis
Three Principles for Maintaining WordPress
-
Efficiency First:
- Images should be optimized (under 100k per image).
- Offload multimedia files from WordPress to separate storage.
- Minimize the use of plugins for better performance.
-
Separation Principle:
- Use external services for non-core features like HTTPS setup, object storage, or analytics.
-
Promotion Priority:
- Optimize URLs and image names for SEO.
- Use an SEO plugin to configure keywords.
- Maintain a 600:400 aspect ratio for featured images.
Configuration Options
- Root Directory:
/var/www/html - Configuration File:
/var/www/html/wp-config.php - Plugin Directory:
/var/www/html/wp-content/plugins - Theme Directory:
/var/www/html/wp-content/themes - Data Folder:
/var/www/html/wp-content - PHP Configuration File:
/usr/local/etc/php/conf.d/php_extra.ini - CLI Support (✅):
wp --info,wp plugin install akismet - REST API:
curl -X OPTIONS -i http://yourdomain.com/wp-json/curl -X GET -i http://yourdomain.com/wp-json/wp/v2/postscurl -X GET -i http://yourdomain.com/wp-json/wp/v2/pages
- SMTP (✅): Use WP Mail SMTP by WPForms.
- E-commerce: Install the WooCommerce plugin for e-commerce functionality.
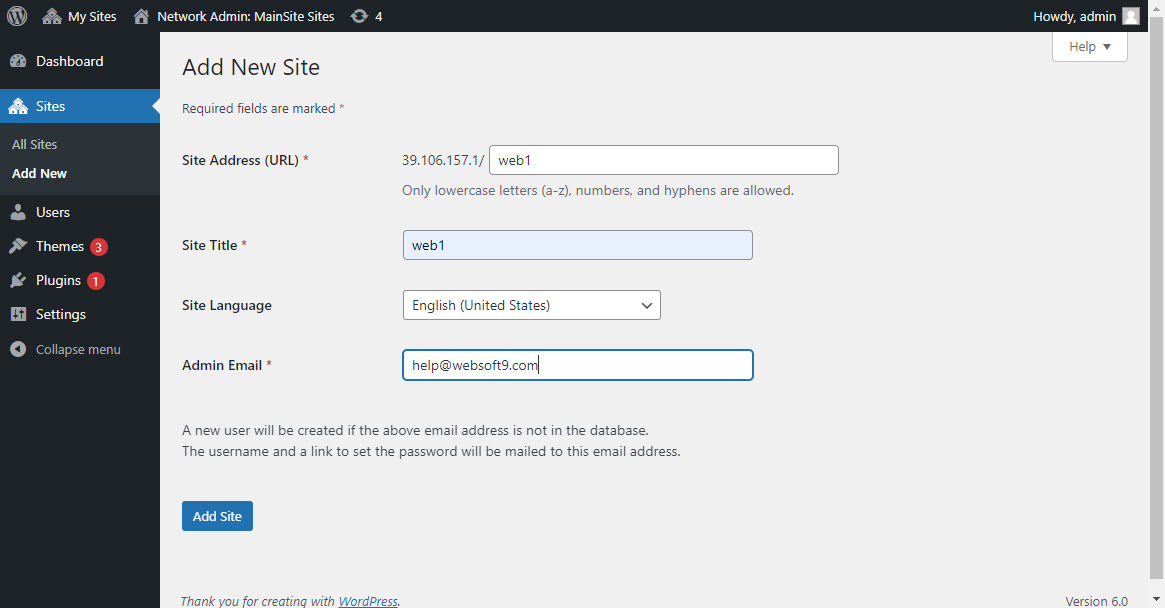
- Multisite (✅): Enable multi-site through Tools > Configure Network in the WordPress dashboard.
Administration
- Change Administrator Email: If SMTP is not enabled, update the email in the wp_option table in the database.
- Retrieve Password: Modify the wp_user table and change the password for the
adminuser to21232f297a57a5a743894a0e4a801fc3(default password:admin). - Replace Domain URL: If you cannot access the WordPress dashboard, update the home and site URL values in the option table in the database.
- Scheduled Tasks: Use WP Crontrol to manage scheduled tasks.
- SSL: Managed by the Websoft9 gateway. Avoid using WordPress SSL-related plugins.
- Disable Google Fonts: If the Disable Google Fonts plugin does not work, manage the issue using the Websoft9 gateway.
Troubleshooting
After configuring HTTPS, some resources are not loading?
-
Caused by certain plugins? Check whether the plugin has an HTTPS switch.
-
CDN enabled? Edit the wp-config.php file and add the following:
define('FORCE_SSL_ADMIN', true);define('FORCE_SSL_LOGIN', true);$_SERVER['HTTPS'] = 'ON';define('CONCATENATE_SCRIPTS', false);
HTTPS access shows “.... Not completely secure”?
Reason: WordPress contains static link resources like images with an HTTP header.
Solution: Manually modify the affected links.
Frequent database connection errors?
Reason: Insufficient memory can cause the WordPress database to fail.
Solution: Increase memory and enable CDN to reduce server memory usage.
Image upload errors?
- Permissions: Ensure the wp-content folder's permissions are set to
www-data. - Size Limit: Modify the PHP configuration to allow larger files.
- Incorrect Format: Check the image extension and ensure it matches the actual file type.
Administrator can’t log in?
Reason: Database permissions are misconfigured.
Solution: Modify the wp_user_level and wp_capabilities fields in the wp_users and wp_usermeta tables.
Correct database info but can't connect?
Reason: The containerized version of WordPress does not support database names like www.abc.com.
Solution: Use a different database name format.