RethinkDB Getting Started
RethinkDB is a NoSQL database that stores schemaless JSON documents, it is an open-source database for building realtime web applications.
In addition to being designed from the ground up for realtime apps, RethinkDB offers a flexible query language, intuitive operations and monitoring APIs, and is easy to setup and learn.
If you have installed Websoft9 RethinkDB, the following steps is for your quick start
Preparation
- Get the Internet IP of your Server on Cloud
- Check your Inbound of Security Group Rule of Cloud Console to ensure the **TCP:9090 28015 ** is allowed
- Complete Five steps for Domain if you want to use Domain for RethinkDB
- Get default username and password of RethinkDB
RethinkDB Initialization
Steps for you
-
Using local browser to visit the RethinkDB login page URL http://DNS:9090 or http://Server's Internet IP:9090
-
Input the username and password (Don't have password?)
-
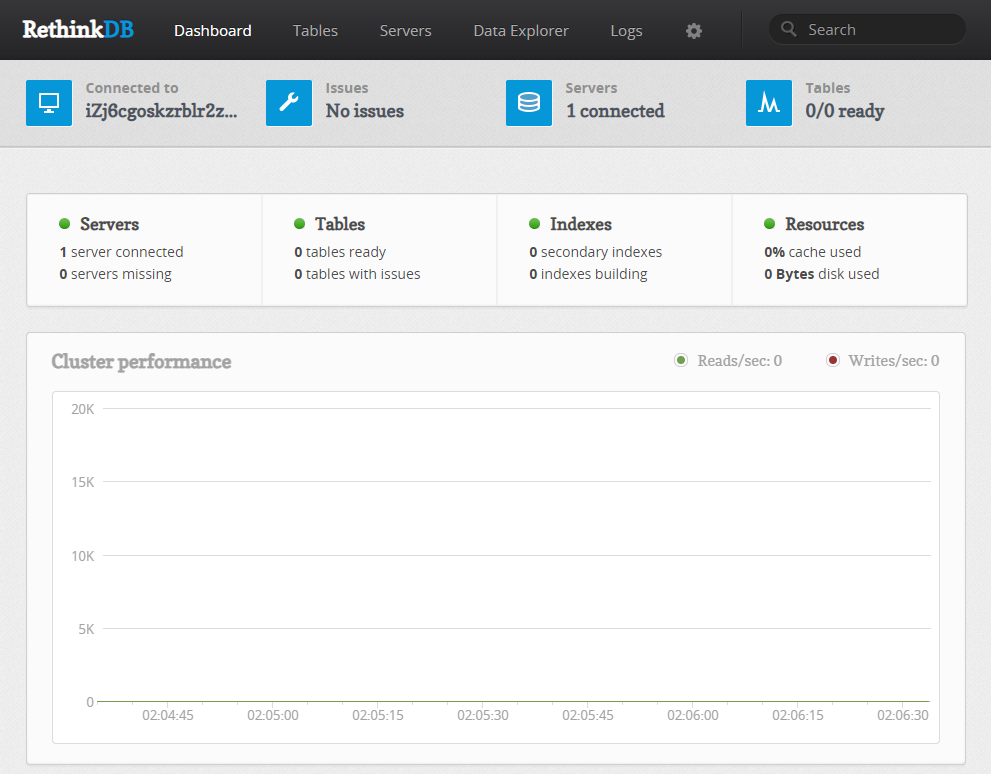
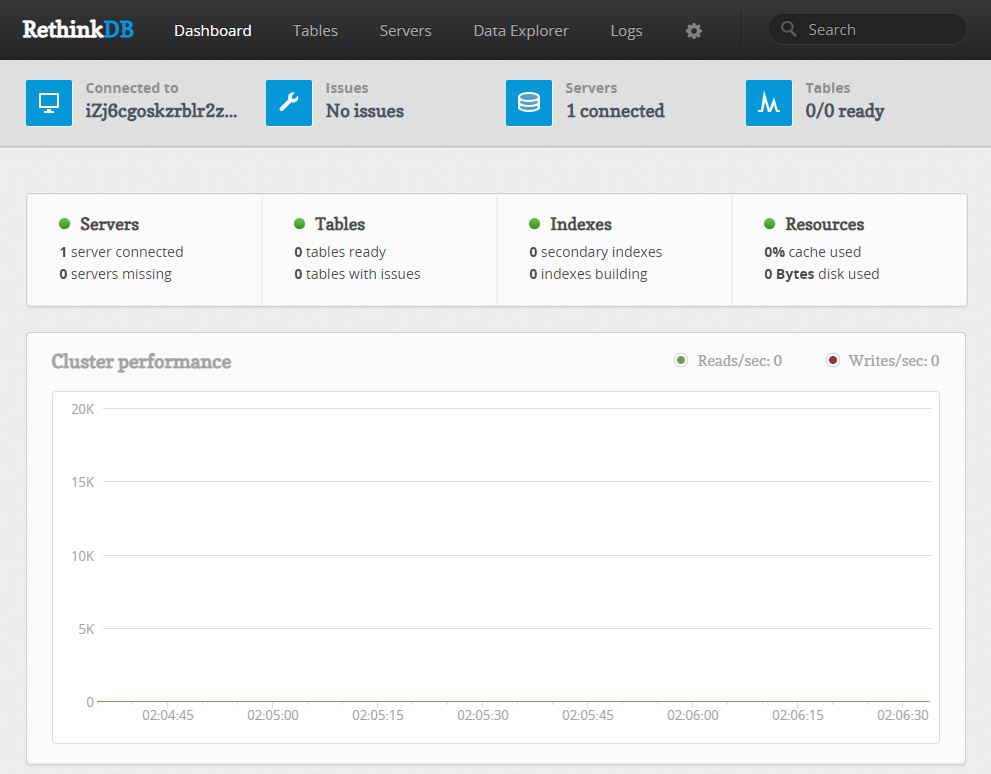
You can see the interface of RethinkDB
Having trouble?
Below is for you to solve problem, and you can contact Websoft9 Support or refer to Troubleshoot + FAQ to get more.
RethinkDB QuickStart
These steps will show you how to create Database and Table by RethinkDB console:
-
Open: 【Tables】>【Add Database】to create a database
-
Click this the database you added and click 【Add Table】
More useful RethinkDB guide, please refer to RethinkDB Documentation
RethinkDB Setup
Console password management
The RethinkDB console does not provide default login authentication, and this deployment solution uses Nginx auth_bacic as the login authentication mode
Remote Connection
RethinkDB remote connection is set from file: /etc/rethinkdb/instances.d/instance.conf (Container internal configuration file)
-
Add the below line in this file
bind=0.0.0.0
-
Restart RethinkDB service
sudo systemctl restart rethinkdb
User management
The following is an example of adding a user, password, and resetting password:
-
Connect to the database as the
admin
user (only the admin user has access to the user's system tables, so you must connect to the database as the admin user)from rethinkdb import r
r.connect('localhost', 28015).repl()
r.connect('localhost', 28015, password='123456').repl() -
Add new users (user information is stored in users system table)
r.db('rethinkdb').table('users').insert({id: 'bob', password: 'secret'})
-
Reset the user's password
r.db('rethinkdb').table('users').get('username').update({password: newpassword})
r.db('rethinkdb').table('users').get('username').update({password: false})
Reset Password
Commonly used RethinkDB password reset related operations mainly include changing the password and clearing the password (setting the password to blank).
-
Log in to the RethinkDB web interface and enter the required commands under [Data explorer]
r.db('rethinkdb').table('users').get('admin').update({password: 'newpassword'})
r.db('rethinkdb').table('users').get('admin').update({password: false}) -
Click [Run] to take effect
Reset RethinkDB console password
Run htpasswd -b /etc/nginx/.htpasswd admin new_password
command to reset password
Web-based GUI
RethinkDB provides a web interface which lets you manage your entire server cluster, from controlling sharding and replication to running ReQL queries (in JavaScript), with editing and history support.
-
Using local browser to visit the RethinkDB login page URL http://DNS:9090 or http://Server's Internet IP:9090
-
Input the username and password (Don't have password?)
-
You can see the interface of RethinkDB
-
Open: 【Tables】>【Add Database】to create a database
-
Click this the database you added and click 【Add Table】
Reference sheet
The below items and General parameter sheet is maybe useful for you manage RethinkDB
Run docker ps
command, view all Containers when RethinkDB is running:
CONTAINER ID IMAGE COMMAND CREATED STATUS PORTS NAMES
e9cfcd42987e rethinkdb:latest "/bin/bash -c 'rethi…" About a minute ago Up About a minute 0.0.0.0:28015->28015/tcp, :::28015->28015/tcp, 0.0.0.0:29015->29015/tcp, :::29015->29015/tcp, 0.0.0.0:9090->8080/tcp, :::9090->8080/tcp rethinkdb
Path
RethinkDB installation directory: /data/apps/rethinkdb
RethinkDB data directory: /data/apps/rethinkdb/data/rethinkdb_data
RethinkDB configuration directory: /etc/rethinkdb/instances.d (Container internal configuration file)
Port
Port | Use | Necessity |
---|---|---|
28015 | RethinkDB connect | Optional |
9090 | RethinkDB Web-based GUI | Required |
Version
docker exec -it rethinkdb rethinkdb --version
Service
sudo docker l start | stop | restart | stats rethinkdb
CLI
Server
RethinkDB provide administrator CLI tool rethinkdb
. In addition, you can perform administration tasks using scriptable ReQL commands.
$rethinkdb -h
Running 'rethinkdb' will create a new data directory or use an existing one,
and serve as a RethinkDB server.
File path options:
-d [ --directory ] path specify directory to store data and
metadata
--io-threads n how many simultaneous I/O operations
can happen at the same time
--direct-io use direct I/O for file access
--cache-size mb total cache size (in megabytes) for
the process. Can be 'auto'.
Server options:
-n [ --server-name ] arg the name for this server (as will
appear in the metadata). If not
specified, one will be generated from
the hostname and a random
alphanumeric string.
-t [ --server-tag ] arg a tag for this server. Can be
specified multiple times.
Network options:
--bind {all | addr} add the address of a local interface
to listen on when accepting
connections, loopback addresses are
enabled by default. Can be overridden
by the following three options.
--bind-cluster {all | addr} override the behavior specified by
--bind for cluster connections.
--bind-driver {all | addr} override the behavior specified by
--bind for client driver connections.
--bind-http {all | addr} override the behavior specified by
--bind for web console connections.
--no-default-bind disable automatic listening on
loopback addresses
--cluster-port port port for receiving connections from
other servers
--driver-port port port for rethinkdb protocol client
drivers
-o [ --port-offset ] offset all ports used locally will have this
value added
-j [ --join ] host[:port] host and port of a rethinkdb server
to connect to
--reql-http-proxy [protocol://]host[:port] HTTP proxy to use for performing
`r.http(...)` queries, default port
is 1080
--canonical-address host[:port] address that other rethinkdb
instances will use to connect to us,
can be specified multiple times
--join-delay seconds hold the TCP connection open for
these many seconds before joining
with another server
--cluster-reconnect-timeout seconds maximum number of seconds to attempt
reconnecting to a server before
giving up, the default is 24 hours
TLS options:
--http-tls-key key_filename private key to use for web
administration console TLS
--http-tls-cert cert_filename certificate to use for web
administration console TLS
--driver-tls-key key_filename private key to use for client driver
connection TLS
--driver-tls-cert cert_filename certificate to use for client driver
connection TLS
--driver-tls-ca ca_filename CA certificate bundle used to verify
client certificates; TLS client
authentication disabled if omitted
--cluster-tls-key key_filename private key to use for intra-cluster
connection TLS
--cluster-tls-cert cert_filename certificate to use for intra-cluster
connection TLS
--cluster-tls-ca ca_filename CA certificate bundle used to verify
cluster peer certificates
--tls-min-protocol protocol the minimum TLS protocol version that
the server accepts; options are
'TLSv1', 'TLSv1.1', 'TLSv1.2';
default is 'TLSv1.2'
--tls-ciphers cipher_list specify a list of TLS ciphers to use;
default is 'EECDH+AESGCM'
--tls-ecdh-curve curve_name specify a named elliptic curve to use
for ECDHE; default is 'prime256v1'
--tls-dhparams dhparams_filename provide parameters for DHE key
agreement; REQUIRED if using DHE
cipher suites; at least 2048-bit
recommended
Authentication options:
--initial-password {auto | password} sets an initial password for the
"admin" user on a new server. If set
to auto, a random password will be
generated.
Web options:
--web-static-directory directory the directory containing web
resources for the http interface
--http-port port port for web administration console
--no-http-admin disable web administration console
CPU options:
-c [ --cores ] n the number of cores to use
Service options:
--pid-file path a file in which to write the process
id when the process is running
--daemon daemonize this rethinkdb process
Set User/Group options:
--runuser user run as the specified user
--rungroup group run with the specified group
Help options:
-h [ --help ] print this help
-v [ --version ] print the version number of rethinkdb
Log options:
--log-file file specify the file to log to, defaults
to 'log_file'
--no-update-check obsolete. Update checking has been
removed.
Configuration file options:
--config-file take options from a configuration
file
There are a number of subcommands for more specific tasks:
'rethinkdb create': prepare files on disk for a new server instance
'rethinkdb serve': use an existing data directory to host data and serve queries
'rethinkdb proxy': serve queries from an existing cluster but don't host data
'rethinkdb export': export data from an existing cluster into a file or directory
'rethinkdb import': import data from from a file or directory into an existing cluster
'rethinkdb dump': export and compress data from an existing cluster
'rethinkdb restore': import compressed data into an existing cluster
'rethinkdb index-rebuild': rebuild outdated secondary indexes
'rethinkdb repl': start a Python REPL with the RethinkDB driver
For more information, run 'rethinkdb help [subcommand]'.
Client
RethinkDB officially does not have a client CLI, but provides RethinkDB client drivers for Python, Java, Node and other development languages.
Through these drivers, you can programmatically connect to the RethinkDB service and then perform database operations for the scene.
The following uses Python as an example to describe how to use it:
-
Install the RethinkDB driver
pip3 install rethinkdb
-
Write Python programs to connect to the RethinkDB server
from rethinkdb import r
r.connect('localhost', 28015).repl()
r.db('test').table_create('tv_shows').run()
r.table('tv_shows').insert({ 'name': 'Star Trek TNG' }).run()
API
The above client commands are APIs