Version: 1.0

Seafile Getting Started

Seafile is an open source file sync&share solution designed for high reliability, performance and productivity. Sync, share and collaborate across devices and teams. Build your team's knowledge base with Seafile's built-in Wiki feature.
If you have installed Websoft9 Seafile, the following steps is for your quick start

Preparation

  1. Get the Internet IP of your Server on Cloud
  2. Check your Inbound of Security Group Rule of Cloud Console to ensure the TCP:80 is allowed
  3. Complete Five steps for Domain if you want to use Domain for Jenkins.
  4. Get default username and password of Jenkins

Seafile Initialization

Steps for you

  1. Using local Chrome or Firefox to visit the URL http://domain name or http://Internet IP, you will log in interface of Seafile Seafile login page

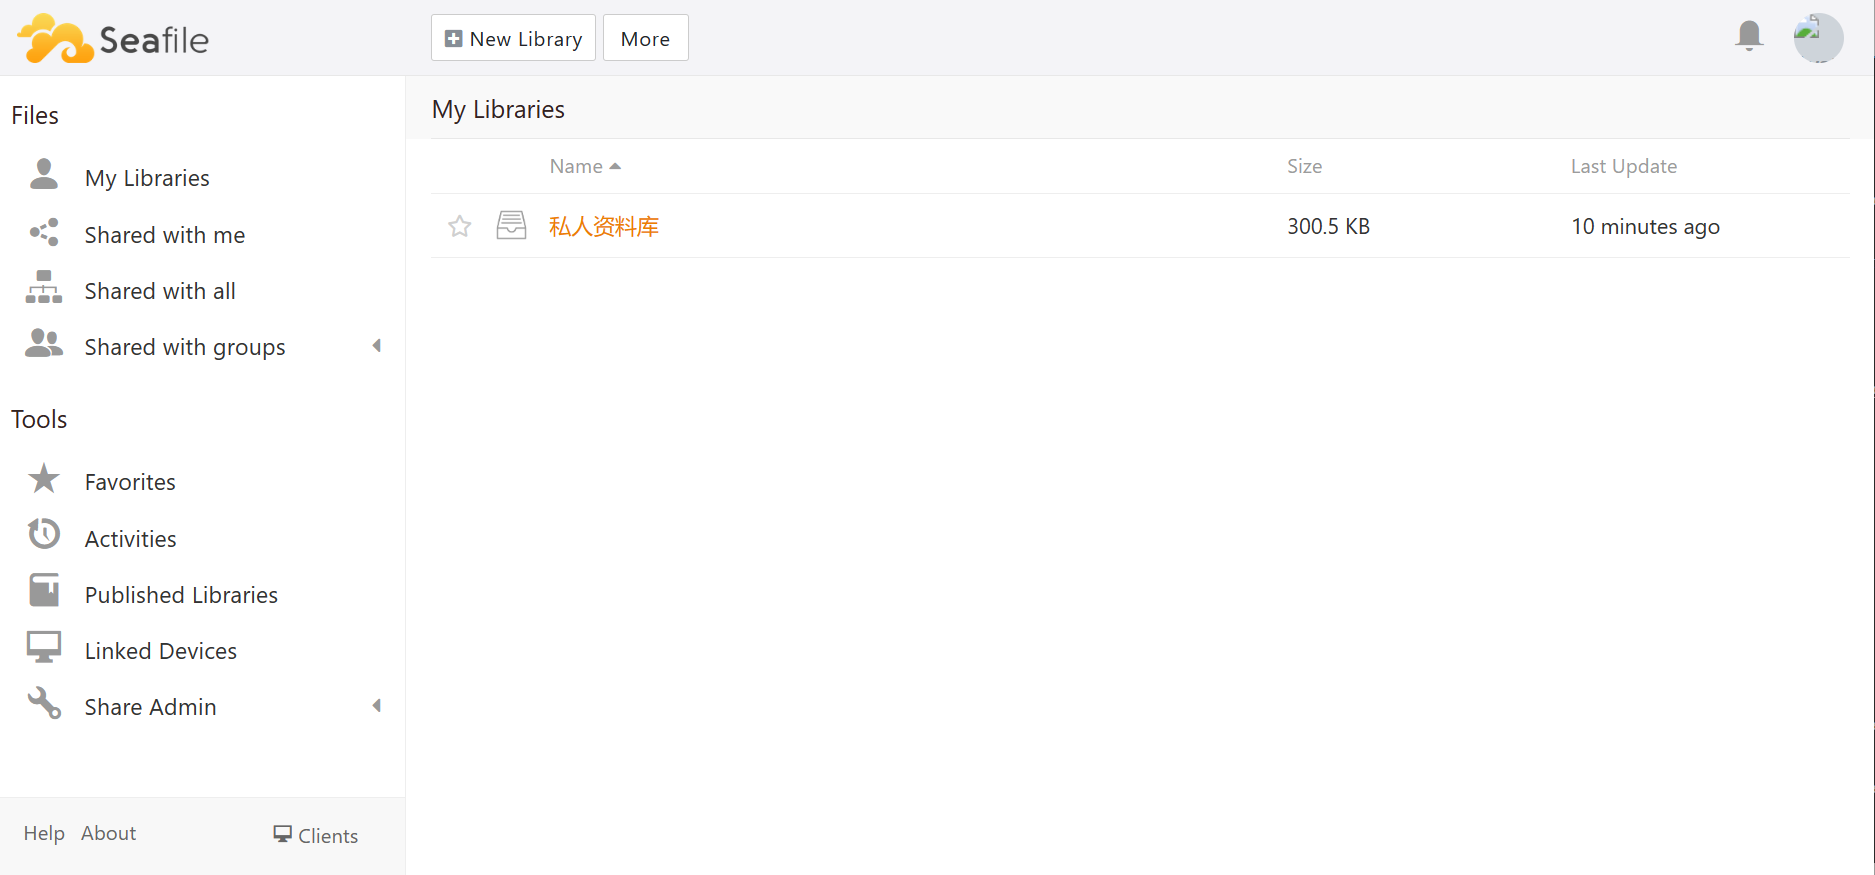
  2. Input Seafile's username and password(Get it) Seafile console interface

  3. Set or check your Seafile host URL(Required, otherwise you cannot use the file upload function

    Seafile console UI

  4. Start to use it

More details for using Seafile, please use docs: Seafile user guide and Seafile Server Manual

Having trouble?

Below is for you to solve problem, and you can contact Websoft9 Support or refer to Troubleshoot + FAQ to get more.

Can I have online document editing and preview in ownCloud?

The image is pre-installed with OnlyOffice docs, which can realize online document editing and preview through configuration, reference configuration

Seafile QuickStart

Below we are familiar with the use of Seafile through operations such as creating a library, creating files, editing files, setting permissions, and user sharing.

Add & Edit file

The following is the steps about how to create file and edit file:

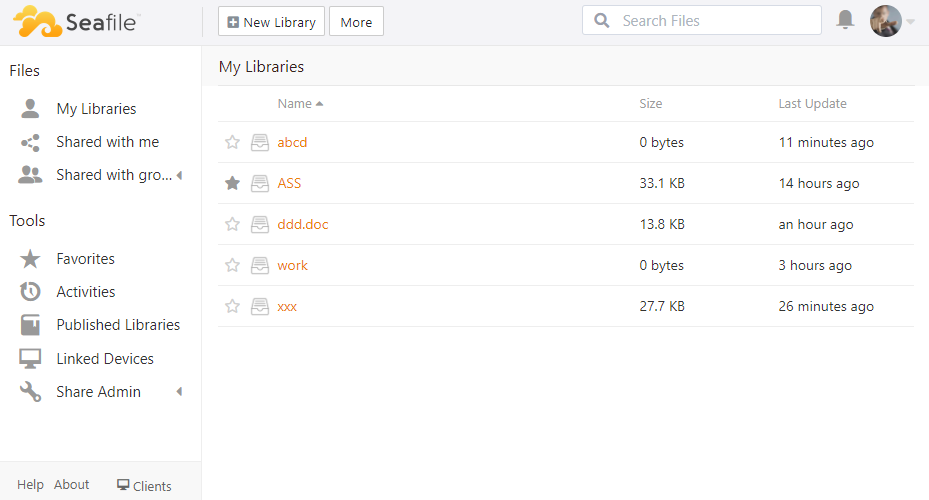
  1. Login to Seafile Console, and add 【New library】and 【New file】

    Seafile add library

    Seafile add file

  2. Edit file online by OnlyOffice Document Server

    Seafile edit file

User management

The following is the steps about how to create user and group:

  1. Click the icon of user and enter to【System Admin】, click【Add user】and【New Group】

    Seafile system admin

    Seafile add user

    Seafile add group

  2. Set the user to a group

    Seafile user group

Share file

The following is the steps about how to share files to other user:

  1. Enter to【My Library】, click share icon

    Seafile share file

  2. Set permission to【Read】or【Read-Write】

    Seafile file share

Edit shared file

The following is the steps about how to edit the shared files:

  1. User another user to login Seafile(username: user1@websoft9) Seafile login page

  2. Click 【Shared with me】 and edit the file you selected, then logout Seafile view shared file Seafile edit shared file

  3. Login with administrator user [email protected] and view the history version of file Seafile view the history version Seafile view the history version

Seafile Setup

Import the Enterprise License

If you have purchased the professional version from Seafile, the official will provide you with the authorization file seafile-license .txt.

Copy the license to Seafile with the following command to complete the installation of the license file:

cp seafile-license.txt /data/apps/seafile/data/seafile_data 
docker restart seafile

Configure SMTP

  1. Get SMTP related parameters in the mailbox management console

  2. Use the SFTP to connect Server of Seafile, edit the Seafile configuration file seahub_settings.py

  3. Insert your SMPT items (refer to Seafile official docs sending_email)

    EMAIL_USE_SSL = True
    EMAIL_HOST = 'smtp.sendgrid.net'
    EMAIL_HOST_USER = 'websoft9smtp'
    EMAIL_HOST_PASSWORD = '#fdfwwBJ8f'
    EMAIL_PORT = '465'
    DEFAULT_FROM_EMAIL = EMAIL_HOST_USER
    SERVER_EMAIL = EMAIL_HOST_USER
  4. Restart the Seafile service

    sudo docker restart seafile

Modify the email notification signature

Log in to Seafile and go to Settings to modify the [SITE_NAME] values.

Seafile document preview and editing

Refer to:Seafile Integrate ONLYOFFICE Docs

DNS Additional Configure(Modify URL)

Complete Five steps for Domain ,Set the URL for Seafile:

Log in to the Seafile and modify the host address( SERVER_URL & FILE_SERVER_ROOT ). It must be modified, otherwise the file cannot be uploaded or downloaded normally.

Configure HTTPS

Manage Seafile Password

We may Modify or recover Seafile administrator password

Modify Seafile administrator password

Log in Seafile, go to Users->Your Profile,update your password Seafile Modify Seafile administrator password

Recover Seafile administrator password

If you don't remember the Seafile administrator password, you can retrieve it in the following two ways.

Recover by Email

Seafile can retrieve the password by sending an email, but only if your Seafile site has already configured SMTP. Seafile Modify Seafile administrator password

Recover by database

If the server does not support the function of sending email passwords, the database management panel phpmyadmin will modify it.

  1. Log in to phpMyAdmin, find the EmailUser table of your Seafile database,Edit the user(e.g. your username is [email protected])
    Seafile database
  2. Replace the data with PBKDF2SHA256$10000$7289a20ae4fc2329415b0645fa3d106019cc61952ae1bc2f9eeef7b30dc47d88$5418ac28f06bd84f2bb701a10dbea6b0bd30676c8042e1f73b9ce12aac302a8d(MD5)
  3. Click run
  4. The new password is 123456 now

Use the App

  1. Go to [Seafile Website] (https://www.seafile.com/download/) to download the client

  2. Get client login SERVICE_URL: Log in to the Seafile backend, click your profile picture at the top right, and go to [System Settings] to get the SERVICE_URL

Reference sheet

The below items and General parameter sheet is maybe useful for you manage Seafile

Run docker ps command, view all Containers when Seafile is running:

CONTAINER ID   IMAGE                          COMMAND                  CREATED       STATUS       PORTS                                       NAMES
824cc16f7950 phpmyadmin:latest "/docker-entrypoint.…" 3 hours ago Up 3 hours 0.0.0.0:9090->80/tcp, :::9090->80/tcp phpmyadmin
fb9c795d5cef seafileltd/seafile-mc:latest "/sbin/my_init -- /s…" 3 hours ago Up 3 hours 0.0.0.0:9001->80/tcp, :::9001->80/tcp seafile
e237c52ccadd mariadb:10.5 "docker-entrypoint.s…" 3 hours ago Up 3 hours 0.0.0.0:3306->3306/tcp, :::3306->3306/tcp seafile-db
ffd4eae50a9c memcached:1.5.6 "memcached -m 256" 3 hours ago Up 3 hours 11211/tcp seafile-memcached

Path

Seafile installation directory: /data/apps/seafile
Seafile data directory: /data/apps/seafile/data/seafile_data
Seafile log directory:/data/apps/seafile/data/seafile_data/logs
Seafile configuration directory:/data/apps/seafile/data/seafile_data/seafile/conf

Seafile configuration files include seahub_settings.py, seafile.conf, etc

Port

PortUseNecessity
9002Access ONLYOFFICE Docs via httpOptional

Version

View through the Seafile backend

Service

sudo docker start | stop | restart seafile
sudo docker start | stop | restart seafile-db
sudo docker start | stop | restart seafile-memcached

CLI

Seafile client for a Cli server

API

Web AP