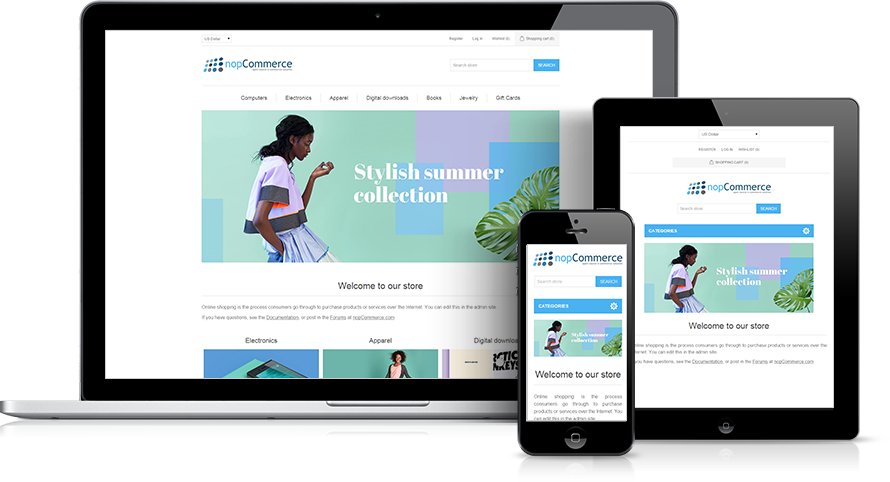
nopCommerce
nopCommerce is Free and open-source eCommerce platform, used for eCommerce Content Marketing . The popular ASP.NET Core shopping cart in the world based on Microsoft technologies
Prepare
When referring to this document to use nopCommerce, please read and ensure the following points:
-
Login to Websoft9 Console and find or install nopCommerce:
- Go to My Apps listing applications
- Go to App Store installing target application
-
This application is installed by Websoft9 console.
-
Please check the application's usage license agreement to ensure compliance.
-
Configure the domain name or server security group opens external network ports for application access.
Getting Started
Initial Setup
-
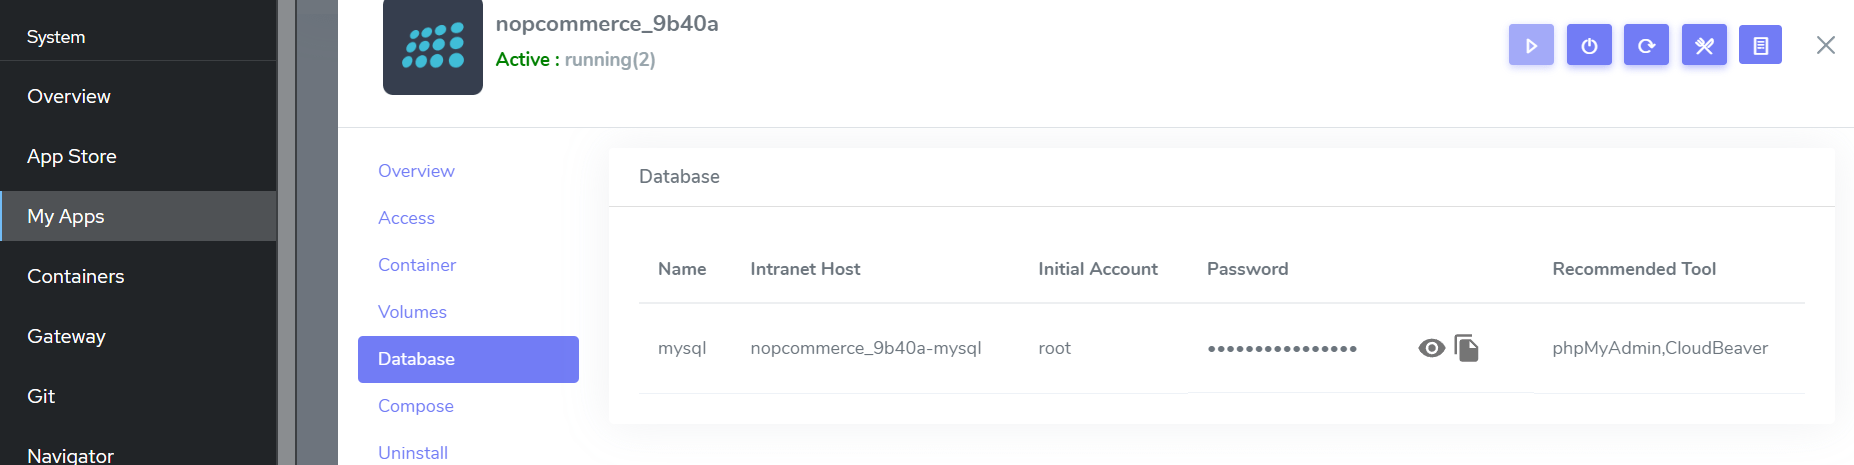
After completing the installation of nopCommerce via the Websoft9 Console, retrieve the application's Overview and Access information from My Apps.
-
Get the database information from Database.
-
Get the access URL from Access.
-
-
Access the URL and start the initialization, setting up the administrator account.
-
Carefully fill in the database information:
- Database Type: MySQL, and select Create database if it doesn't exist.
- Server Name: The intranet host that you checked in step one.
- Database Name:
nopcommerce - Database Username:
root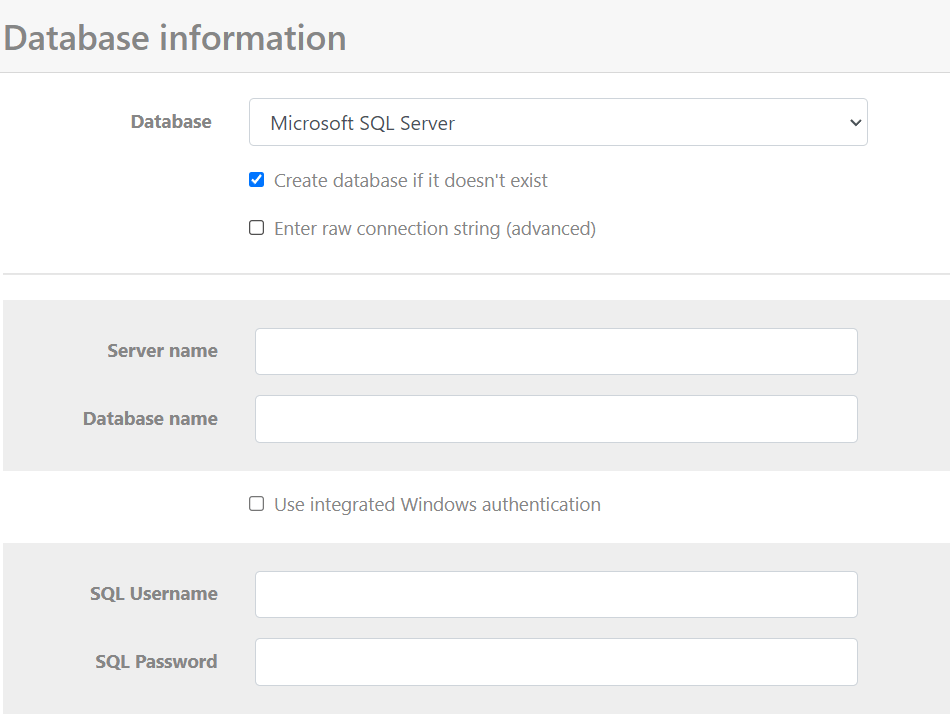
-
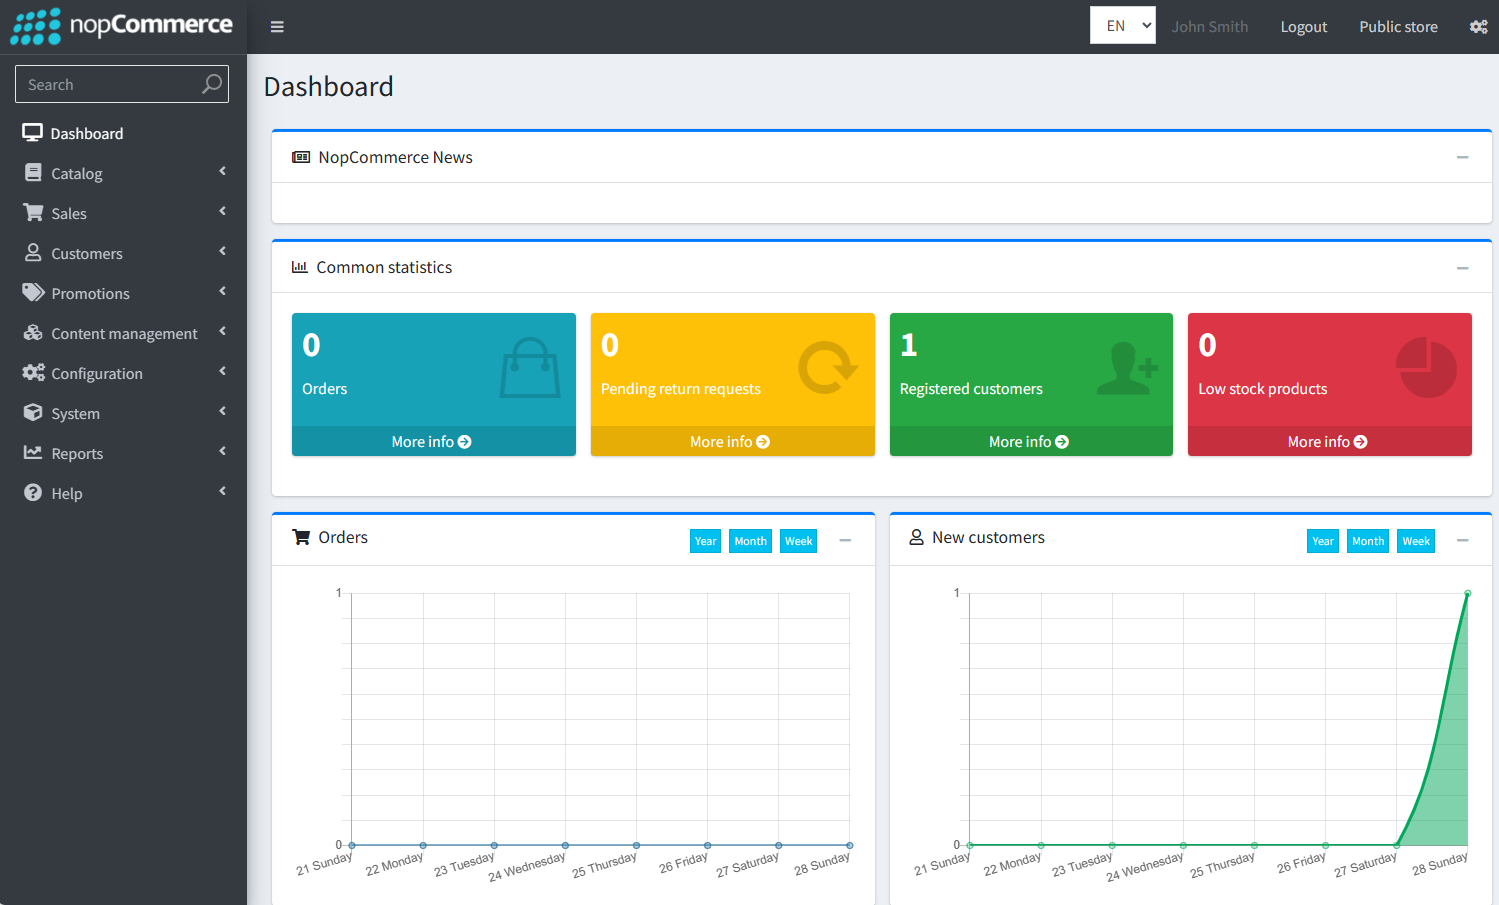
Wait for the installation and nopCommerce automatic restart (1-2 minutes).
-
Once the frontend page is accessible, log in to the backend.
Configuration Options
- Multilingual (√)