RabbitMQ
RabbitMQ is the most widely deployed open source message broker, used for Message Queue . RabbitMQ is the most widely deployed open source message broker.
Prepare
When referring to this document to use RabbitMQ, please read and ensure the following points:
-
Login to Websoft9 Console and find or install RabbitMQ:
- Go to My Apps listing applications
- Go to App Store installing target application
-
This application is installed by Websoft9 console.
-
The purpose of this application complies with the MPL-2.0 open source license agreement.
-
Configure the domain name or server security group opens external network ports for application access.
Getting Started
Initial Setup
-
After completing the installation of RabbitMQ in the Websoft9 Console, retrieve the application's Overview and Access information from My Apps.
-
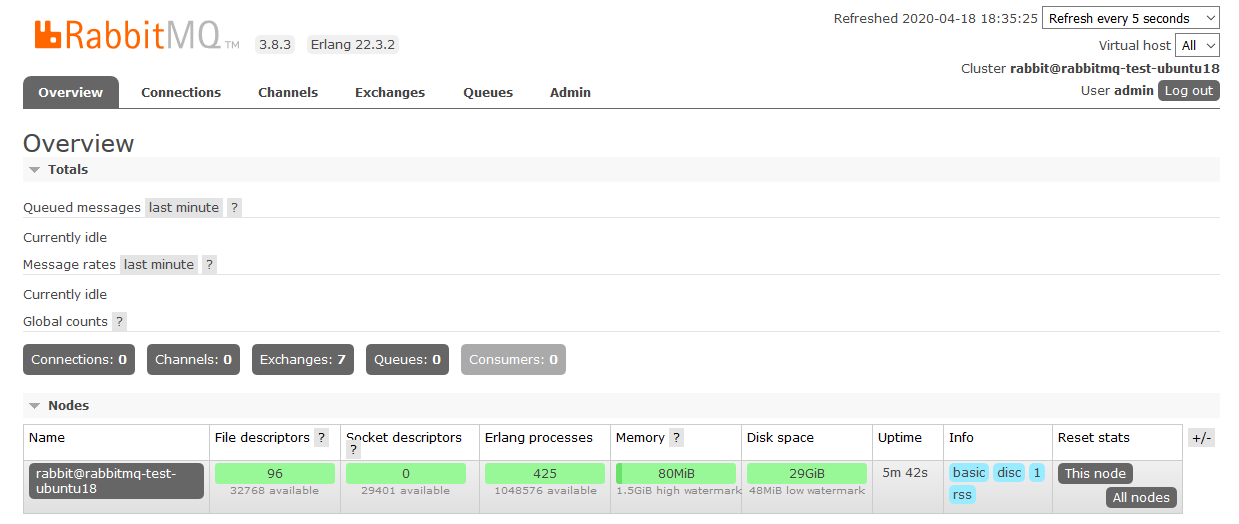
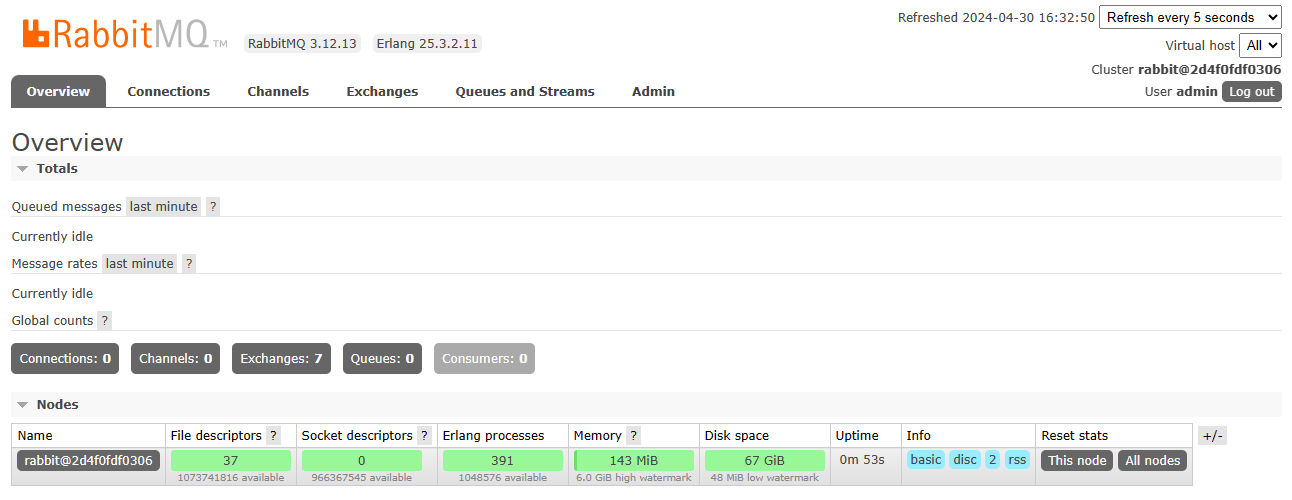
Once you successfully log in, you will be directed to the RabbitMQ console interface.
Remote Connections
RabbitMQ has remote connectivity enabled by default. However, when accessing the RabbitMQ service through a local client (e.g., QueueExplorer), ensure the following:
- The port for remote access is open.
- The login account is set with appropriate Tags (equivalent to assigning roles).
Creating Users
The RabbitMQ console allows user creation. When creating a user, ensure that you assign appropriate Tags for the user.
Configuring TLS/SSL in the Container
To configure TLS/SSL for RabbitMQ, follow these steps:
-
Download the required certificate to the
/etc/rabbitmq/ssldirectory inside the RabbitMQ container. -
Modify the configuration file
/etc/rabbitmq/rabbitmq.configas shown below:ssl_options.cacertfile = /etc/rabbitmq/ssl/ca_certificate.pemssl_options.certfile = /etc/rabbitmq/ssl/server_certificate.pemssl_options.keyfile = /etc/rabbitmq/ssl/server_key.pemssl_options.verify = verify_peerssl_options.fail_if_no_peer_cert = false -
Restart the RabbitMQ application for the changes to take effect.
Configuration Options
- Configuration file directory (mounted):
/etc/rabbitmq/conf.d - Multi-user Support (✅): Users can be added via the console.
- Container ports:
- 15672: RabbitMQ console
- 5672: AMQP port
- 4369: Erlang port
- Command-Line Tool (CML):
rabbitmqctl - API Documentation
Administration
- Upgrading: For upgrade instructions, refer to Upgrading RabbitMQ.
- Resetting Password: In the RabbitMQ container, run the following command to reset the password:
rabbitmqctl change_password admin newpassword