Odoo
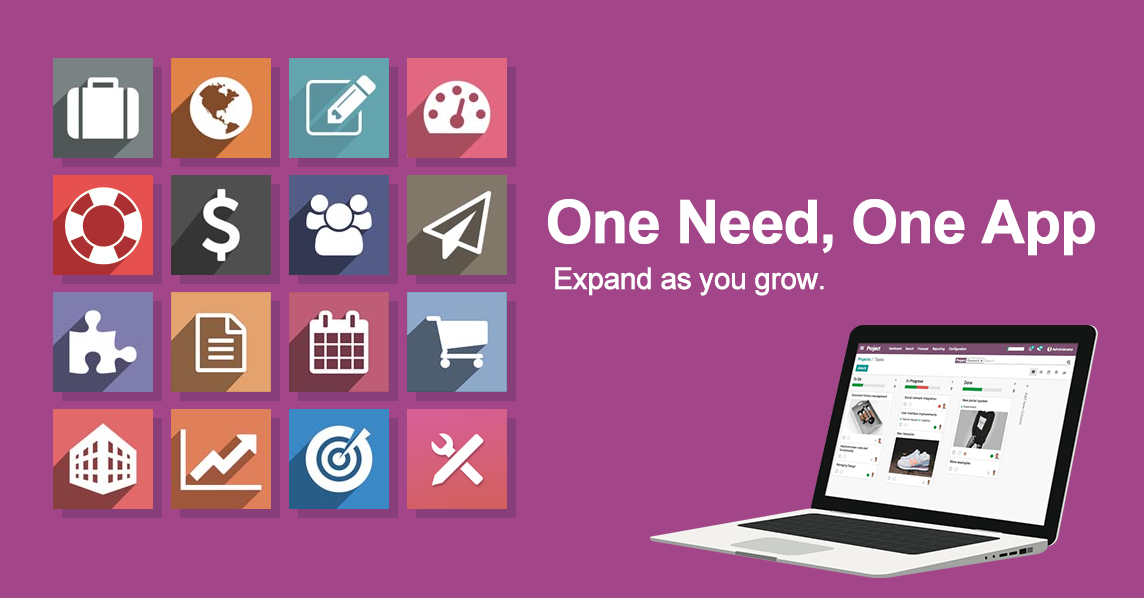
Odoo is A suite of web based open source business apps, used for ERP & Finance CRM & Distribution & Order Supply Chain & Manufacturing & Logistic Strategy & Legal & HR Support & Customer Success PLM & PDM Marketing Website Builder Project and Task Digtal for SCM and Operation Content Marketing . Odoo is a suite of web based open source business apps. Odoo Apps can be used as stand-alone applications, but they also integrate seamlessly so you get a full-featured Open Source ERP when you install several Apps.
Prepare
When referring to this document to use Odoo, please read and ensure the following points:
-
Login to Websoft9 Console and find or install Odoo:
- Go to My Apps listing applications
- Go to App Store installing target application
-
This application is installed by Websoft9 console.
-
The purpose of this application complies with the LGPL-3.0 open source license agreement.
-
Configure the domain name or server security group opens external network ports for application access.
Getting Started
Initial Setup
-
After completing the installation of Odoo via the Websoft9 Console, retrieve the application's Overview and Access information from My Apps.
-
Access the URL using a local browser to start the initialization: create the database.
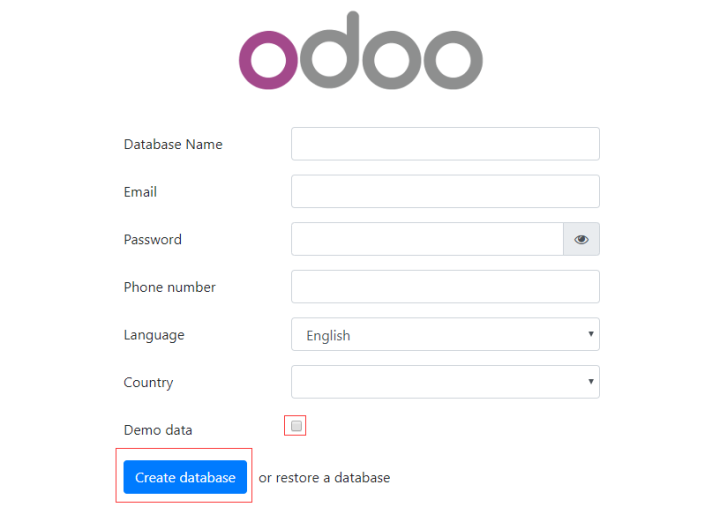
-
Fill in all the parameters (Email and Password are login credentials), select Create database, and wait for the initialization to complete.
-
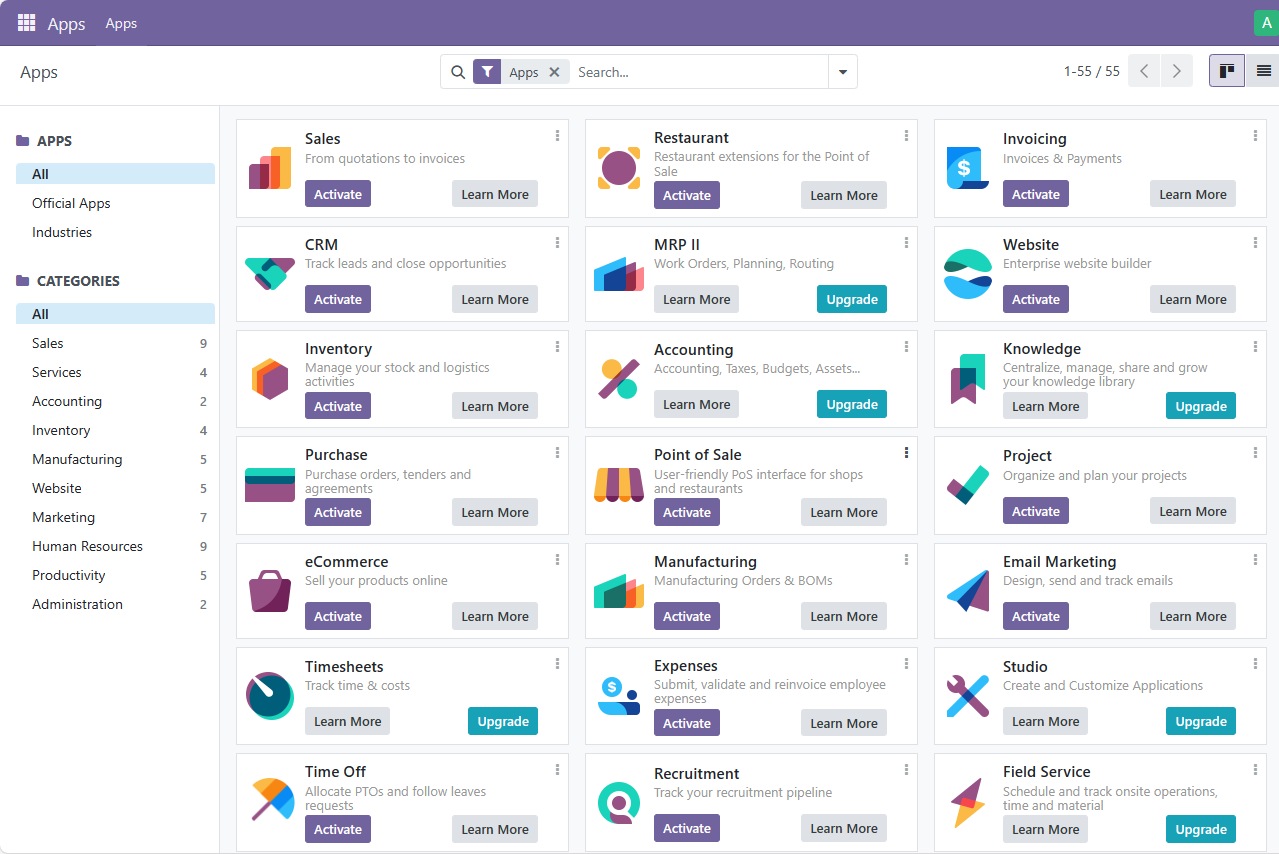
Log in to the backend. By default, you will enter the Apps page.
-
Select the Settings icon on the upper left corner to open the Settings menu. Here, you can set the language, enterprise information, etc.
Developer Mode
How to enable developer mode: Select Settings > Developer Tools > Activate the developer mode.
Active your extra addons
- Login to Odoo console, and enable developer mode
- Upload your code to container path
/mnt/extra-addons(You can mount this directory to host machine by yourself) - Then restart Odoo container and you can see your extra Apps
Export PDF
Install Invoice, Purchase, and other modules to test the Print to PDF function.
Enterprise Edition
To use the Enterprise Edition, contact the Websoft9 Customer Success Team for the image and trial license.
- A trial license is required after the first application is installed in the Enterprise Edition.
- After 1 month, the trial will expire, and the database will be emptied.
Websoft9 provides procurement, delivery, and full hosting of Odoo Enterprise Edition:
- Efficient business processes
- Fully managed services for both public and private clouds
- Low-code development of Odoo for in-house management
Configuration Options
-
Customize Logo (✅): Select Settings > Users & Companies > Companies > My Company > Your Logo.
-
Multi-tenant (multi-business organization) (✅): Use Manage Databases in the Odoo login interface to enter database management, where you can add databases, i.e., businesses. Multiple databases can share the Odoo runtime.
-
Multilingual (✅): Select Preferences in the settings menu at the top-right corner to set the language.
-
Odoo Configuration file (mounted):
/etc/odoo/odoo_config/odoo.conf. -
CLI:
odoo -h. -
API.
-
Community Edition Online Upgrade to Enterprise Edition (✅).
-
SMTP (✅): Select Settings > General Settings > Discuss > Use Custom Email Servers. If you cannot find the Discuss option, first select the Mail Plugin in Integrations.
Administration
- Database Management: Odoo comes with a database manager, accessed via the Manage Database link on the Odoo login page. It supports operations such as create, copy, backup, restore, and delete.
Troubleshooting
Delete Demo Data?
There is no easy tool to delete demo data.
413 Request Entity Too Large?
You need to configure client_max_body_size 0 in the Websoft9 gateway to lift the file size limit.
Using My Apps > Database, the postgres user cannot connect to the Postgresql database?
Odoo cannot directly use the postgres user. You can find the database username with administrator privileges in My Apps > Overview under App Id.