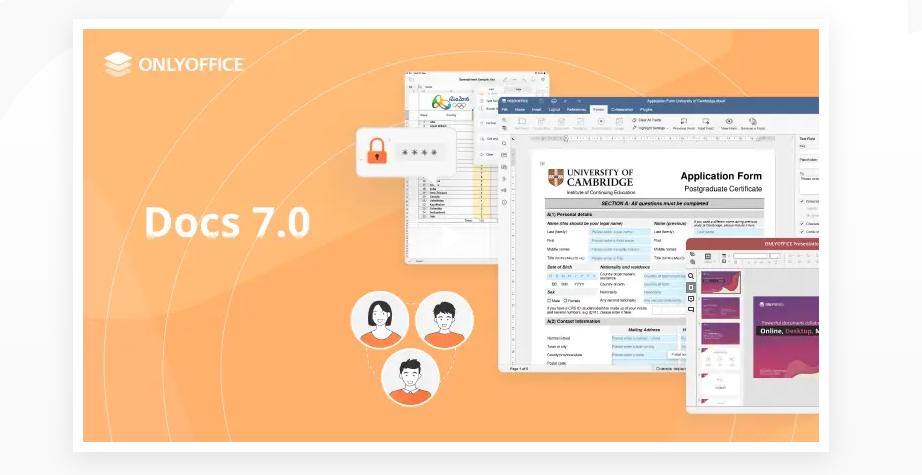
ONLYOFFICE Docs
ONLYOFFICE Docs is Online Document Editing & Preview Middleware, used for Document Service Enterprise content management . ONLYOFFICE Document Server Community is a free collaborative online office suite
Prepare
When referring to this document to use ONLYOFFICE Docs, please read and ensure the following points:
-
Login to Websoft9 Console and find or install ONLYOFFICE Docs:
- Go to My Apps listing applications
- Go to App Store installing target application
-
This application is installed by Websoft9 console.
-
The purpose of this application complies with the AGPL-3.0 open source license agreement.
-
Configure the domain name or server security group opens external network ports for application access.
Getting Started
Initial Setup
-
After completing the installation of ONLYOFFICE Docs via the Websoft9 Console, retrieve the application's Overview and Access information from My Apps.
-
Once accessed, the ONLYOFFICE Docs Community Edition installed page will appear.
-
Run the test command on the prompt page to verify usability.
Integration with Web Disk System
- OwnCloud Integration ONLYOFFICE Docs
- Nextcloud Integration ONLYOFFICE Docs
- Seafile Integration ONLYOFFICE Docs
Add Fonts
Refer to the official documentation Adding fonts to ONLYOFFICE Docs, and note the following:
- Clear your browser cache or open a new browser page in privacy mode to see the new fonts.
- TTF fonts copied from Windows or downloaded from a font website may not work, resulting in no visible effect for the added fonts.
Export PDF
After integrating into cloud disk software, open the document and save it as a PDF file through ONLYOFFICE Docs File - Save as or Download as.
Configure HTTPS with Self-Signature
ONLYOFFICE Docs self-signed certificate is configured as follows:
-
Select My Apps > Compose > Go to Edit Repository > .env to map port 443 for the container to the host (e.g., 8089).
-
Enter the ONLYOFFICE Docs container, download and run the script to create the certificate:
wget -N -P /var/www/onlyoffice/Data https://websoft9.github.io/docker-library/apps/onlyofficedocs/src/createCA.shbash /var/www/onlyoffice/Data/createCA.sh -
Modify the container configuration file:
sed -i 's/“rejectUnauthorized”: true/“rejectUnauthorized”: false/g' /etc/onlyoffice/documentserver/default.jsonsupervisorctl restart all -
Exit the ONLYOFFICE Docs container and reboot to access it through
http://URL:8089.
Enterprise Edition
Why Buy Through Websoft9?
Websoft9 is an ONLYOFFICE Docs global partner and one of the technical support centers in China. Purchasing through Websoft9 offers:
- At least a 10% discount on the paid version
- More comprehensive product support
- Integration with technologies like web disk, cloud storage, etc.
Simultaneous Connections Rule
ONLYOFFICE Docs Simultaneous Connections: This refers to the number of connections open in edit mode by all users at the same time. Beyond this limit, the document will open in preview mode.
Activate License
Place the license file in the ONLYOFFICE Docs volume data directory to take effect immediately.
Configuration Options
-
File History (multiple versions)(✅): File > Version History
-
Support for mainstream formats: docx, xlsx, pptx, odt, ods, odp, doc, xls, ppt, pdf, txt, rtf, html, epub, csv, etc.
-
ONLYOFFICE product family includes:
- ENTERPRISE EDITION
- COMMUNITY EDITION
- DEVELOPER EDITION
-
Authorization Access Control (✅): Used for password authentication with third-party software, ensuring ONLYOFFICE Docs can be accessed when authorized, supporting protocols like JWT.
Administration
- Enable JWT Key: Modify JWT_ENABLED=true in the ONLYOFFICE Docs application compose
.envfile.
Troubleshooting
CSV File Containing Chinese Characters Opens with Garbled Code?
ONLYOFFICE will prompt users to choose the character encoding and field separator when opening a CSV file. The following combination typically solves garbled code issues:
- GB2313 + comma
Open Debug Log?
- Enter the container and modify the /etc/onlyoffice/documentserver/log4js/production.json file, changing level: WARN to level: DEBUG.
- Run the supervisorctl restart all command to apply the changes.