Version: 1.0

Webmin Getting Started

Webmin is a web-based interface for system administration for Unix. Using any modern web browser, you can setup user accounts, Apache, DNS, file sharing and much more.
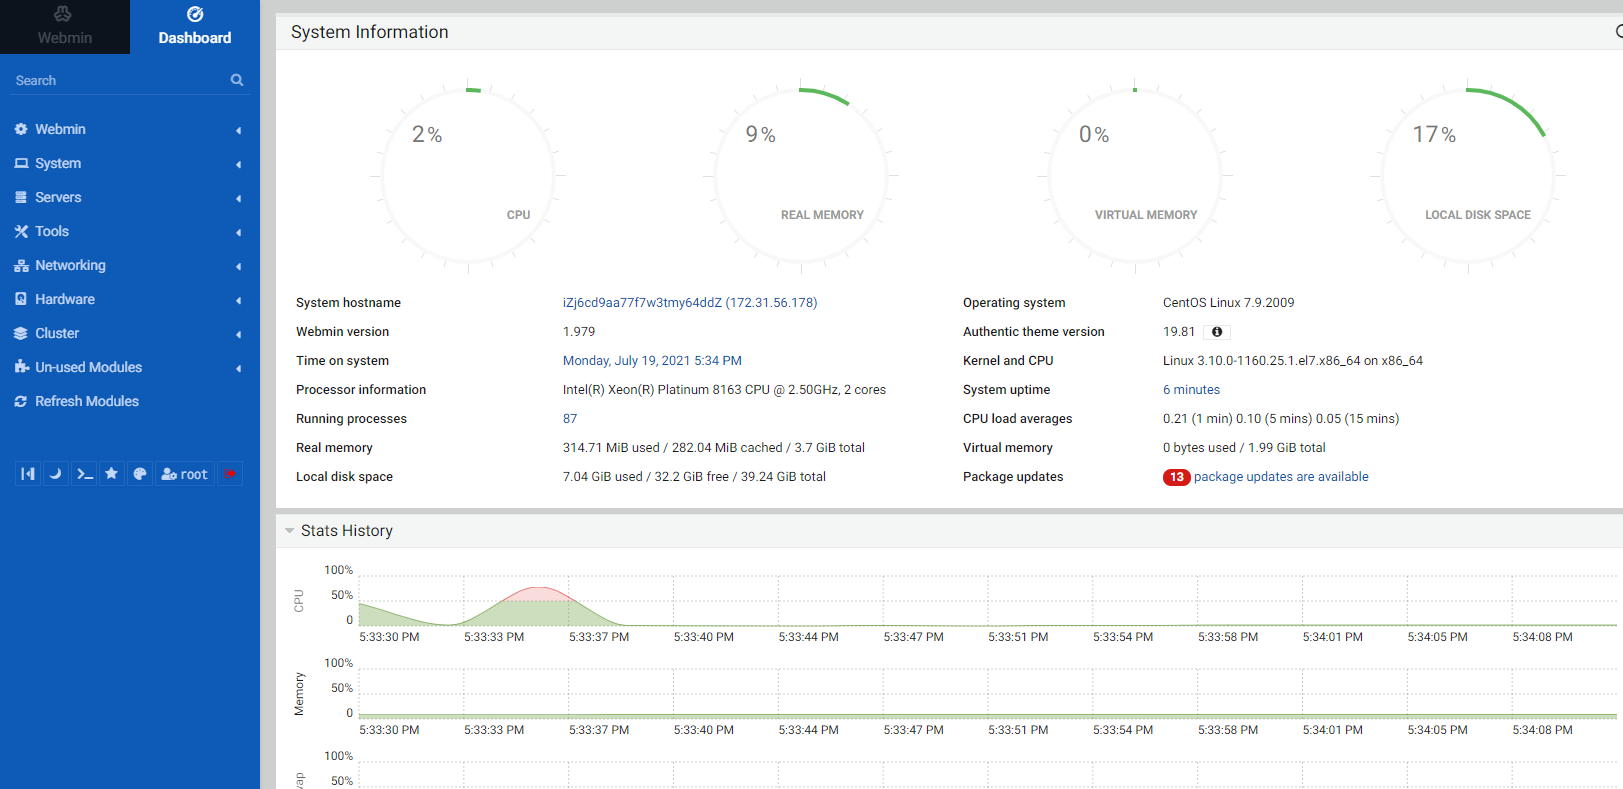
Webmin Dashboard

If you have installed Websoft9 Webmin, the following steps is for your quick start

Preparation

  1. Get the Internet IP of your Server on Cloud

  2. Check your Inbound of Security Group Rule of Cloud Console to ensure the TCP:80 is allowed

  3. Complete Five steps for Domain if you want to use Domain for Webmin

  4. Prepare the server root password (Webmin logs in directly with the server account)

    • Webmin administrator username: root
    • Webmin administrator password: The same with root user of Linux system

Webmin Initialization

Steps for you

  1. Use local browser to access the URL http://DNS or http://Server's Internet IP. You will enter login page Webmin Login

  2. Log in Webmin web console
    Webmin Login

  3. Open menu:【Webmin】>【Change Language and Theme】to set your language Webmin set language

  4. Click the 【>_】icon of left menu, go to SSH mode (ESC cancel) Webmin SSH Mode

More guide about Webmin, please refer to Webmin Documentation.

Having trouble?

Below is for you to solve problem, and you can contact Websoft9 Support or refer to Troubleshoot + FAQ to get more.

服务器使用的是秘钥对,如何登录 Webmin?

由于 Webmin 不支持密钥对登录,因此需要用户自行设置 root 密码:

sudo su -
passwd 'your password'

Webmin QuickStart

下面以 通过 Webmin 安装一个 WordPress 网站作为一个任务,帮助用户快速入门:

需提前将域名解析至服务器

  1. 安装 PHP,MySQL 环境 (参考
  2. 本地下载 WordPress 源码上传至服务器 /data/wwwroot 目录,然后在线解压(参考
  3. 修改解压后的文件夹拥有者为 www(参考
  4. 打开数据库管理界面,增加一个名称为 wordpress 的数据库
  5. 通过修改 WordPress 的配置文件中数据库相关项目 /data/wwwroot/wordpress/wp-config.php
  6. 为 WordPress 网站创建一个虚拟主机(参考
  7. 本地浏览器访问:http://域名,测试 WordPress

Webmin Setup

安装组件

Webmin 应用中除预装 Apache, Docker 之外,没有安装其他组件。

可通过 Websoft9 提供的 自动化组件项目 来安装所需的各种组件:PHP, JDK, Ruby, MySQL 等

配置 Apache 虚拟主机

Webmin 中可以直接通过可视化的方式配置多个 Apache 虚拟主机,具体如下:

  1. 登录 Webmin 之后,打开:【服务器】>【Apache服务器】

  2. 单机【Create virtual host】创建新的虚拟主机,填写配置项,然后点击【创建】

    • 服务端口:80
    • 根文件(目录): /data/wwwroot/yoursite
    • 服务器名称(域名):domain.example.com
    • 选择的配置文件:/etc/httpd/conf.d/domain.example.com.conf

    Webmin Apache

  3. 在 Webmin 的终端中可以查看新创建的虚拟主机配置文件

    Webmin Apache

文件管理

通过【Tools】 > 【File Manage】菜单可以进行文件管理,如文件的上传、下载等

上传文件

选择本地文件夹,点击【file】下拉菜单,选择“上传到当前目录”,完成文件上传

Webmin File

修改文件拥有者

  1. 选中目录,鼠标右键【属性】>【更改所有权】,开始授权

    Webmin 修改文件权限

  2. 分别将用户和组都设置为 apache 勾选 Recursive,点击“Change”

    Webmin 修改文件权限

解压

  1. 选中软件压缩包,鼠标右键中选择【提取】,文件开始解压

    Webmin 解压

  2. 文件解压后,多了1个目录

    Webmin 解压

用户管理

通过【系统】 > 【用户与群组】菜单可以进行用户及角色(分组)管理,如新增用户和编辑用户

选择“创建新用户”或点击用户列表中的用户可以实现用户添加和编辑操作。

Webmin File

数据库管理

Webmin 提供了可视化的 MySQL 数据库管理界面,可以很方面的创建和管理数据库:

  1. 打开菜单【服务器】 > 【MySQL数据库服务器】,点击【创建新的数据库】

Webmin MySQL数据库服务器

  1. 设置你的数据库名称,点击【新建】即可

Binding Domain

After completing the first four steps in the Domain Name Five Steps process, refer to the following steps to complete the domain name binding:

  1. Login to Webmin console, open:【Apache 服务器】>【编辑配置文件】

  2. Modify Apache vhost file,and set item ServerName to your value

  3. Save it and restart Apache service

Resetting Password

Webmin inherit the Linux user, so mean Webmin user and password is the same with Linux system.

Reference sheet

The below items and General parameter sheet is maybe useful for you manage Webmin

下面仅列出 Webmin 本身的参数:

Path

Webmin

Webmin installation directory: /data/apps/webmin
Webmin logs file: /data/apps/webmin/webmin.log
Webmin 模块目录: /data/apps/webmin/modules

Apache

Apache 虚拟主机配置文件:/etc/httpd/conf.d/vhost.conf
Apache 主配置文件: /etc/httpd/conf/httpd.conf
Apache logs file: /var/log/httpd
Apache 模块配置文件: /etc/httpd/conf.modules.d/00-base.conf

Port

端口号用途必要性
10000Webmin 原始端口,已通过 Apache 转发到 80 端口可选

Version

cat /data/apps/webmin/

Service

sudo systemctl start | stop | restart | status webmin

CLI

API

Refer to:Webmin API