Nextcloud
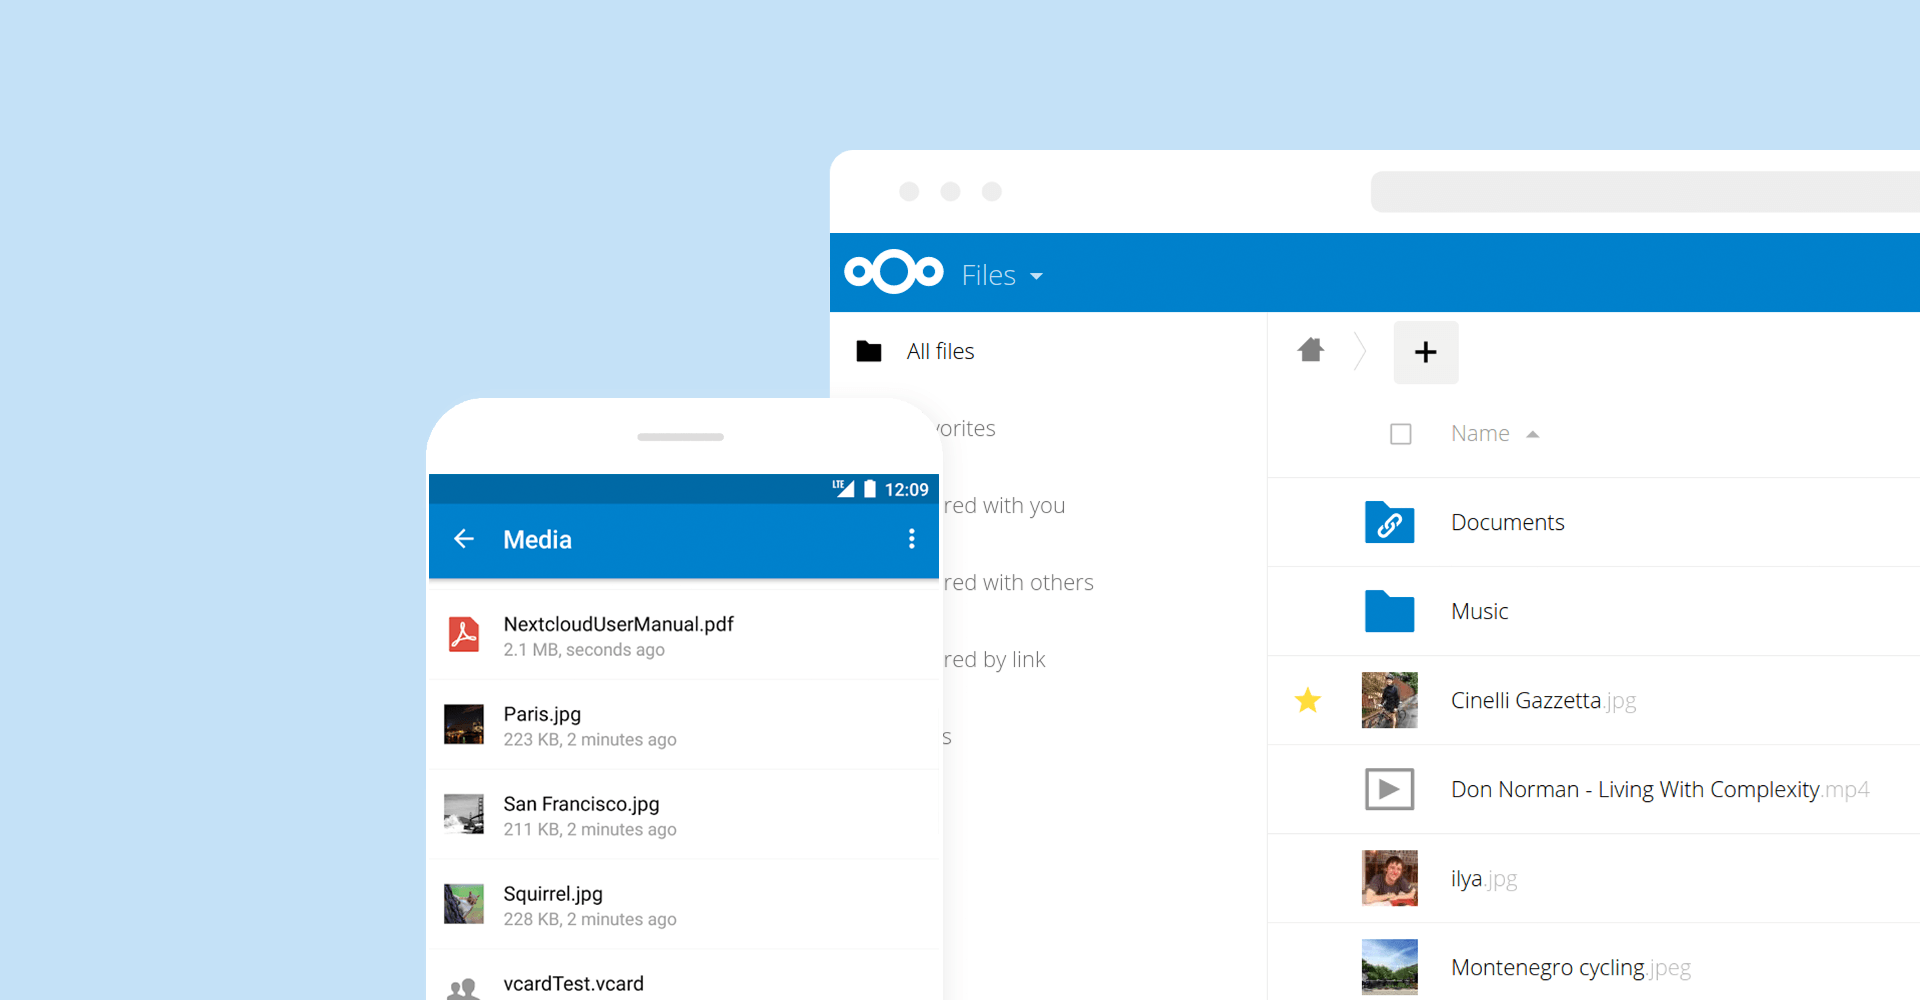
Nextcloud Hub is Team Content & Office Collaboration Platform, used for Document Collaboration Chat Agile Boards Home Server Enterprise content management . Nextcloud offers a modern, on-premises content collaboration platform with real-time document editing, Generative AI, video chat & groupware on mobile, desktop and web.

Prepare
When referring to this document to use Nextcloud Hub, please read and ensure the following points:
-
Login to Websoft9 Console and find or install Nextcloud Hub:
- Go to My Apps listing applications
- Go to App Store installing target application
-
This application is installed by Websoft9 console.
-
The purpose of this application complies with the AGPL-3.0 open source license agreement.
-
Configure the domain name or server security group opens external network ports for application access.
Getting Started
Login Verification
-
After completing the installation of Nextcloud via the Websoft9 Console, retrieve the application's Overview and Access information from My Apps.
-
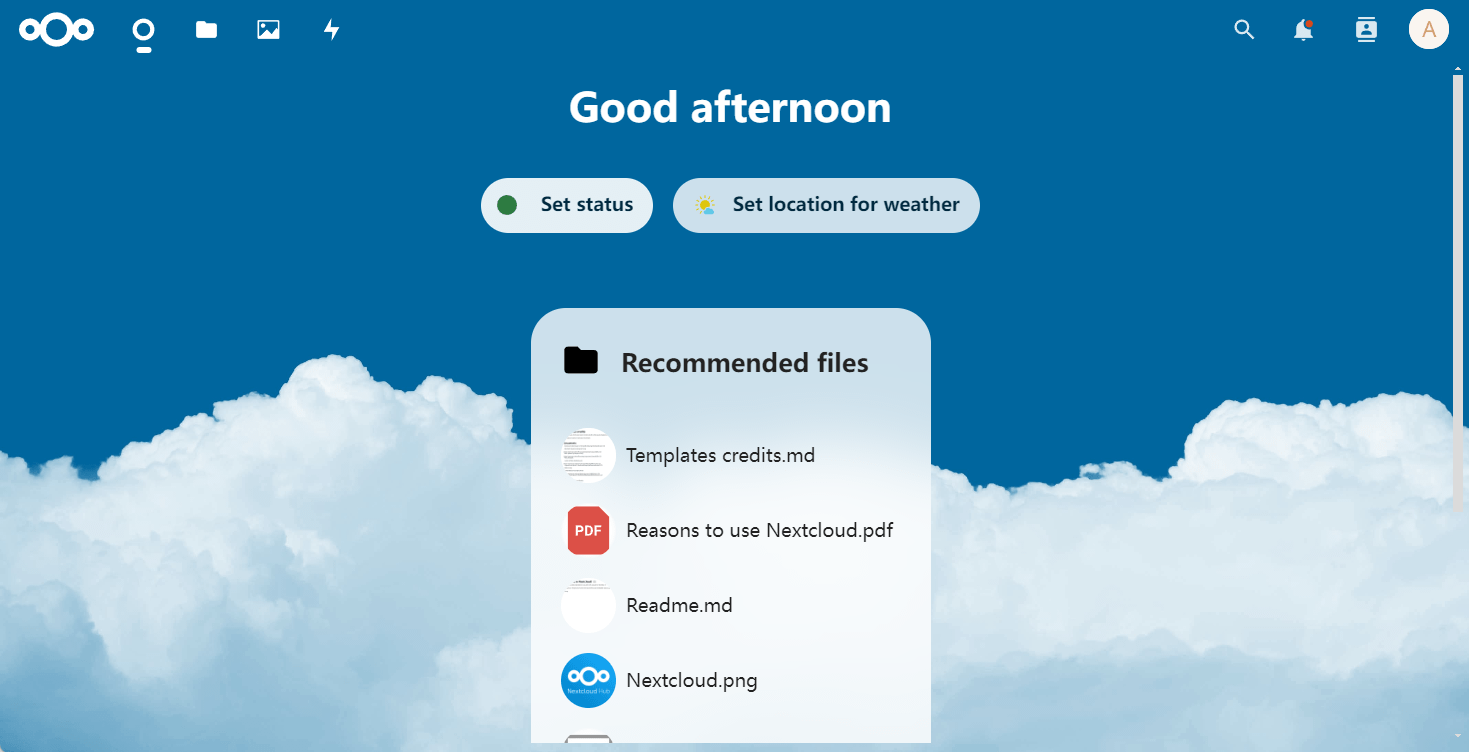
Access the Nextcloud URL and log in to the backend to get started.

Enable Online meetings
-
Set HTTPS for your Nextcloud on your Websoft9 Gateway
-
Login to Nextcloud Console, and enable Nextcloud Talk at App Store
-
Create a talk and send links for users
Document Preview and Edit
Integration of Nextcloud Office
Nextcloud has built-in Nextcloud Office (based on Collabora Online Development Edition, or CODE). Install the CODE plugin to enable it.
Integration with ONLYOFFICE Docs
-
(Optional) In the Websoft9 console App Store, install ONLYOFFICE.
-
In the Nextcloud console, click the top-right gear icon, select +Apps > Office & Text, and install ONLYOFFICE.
-
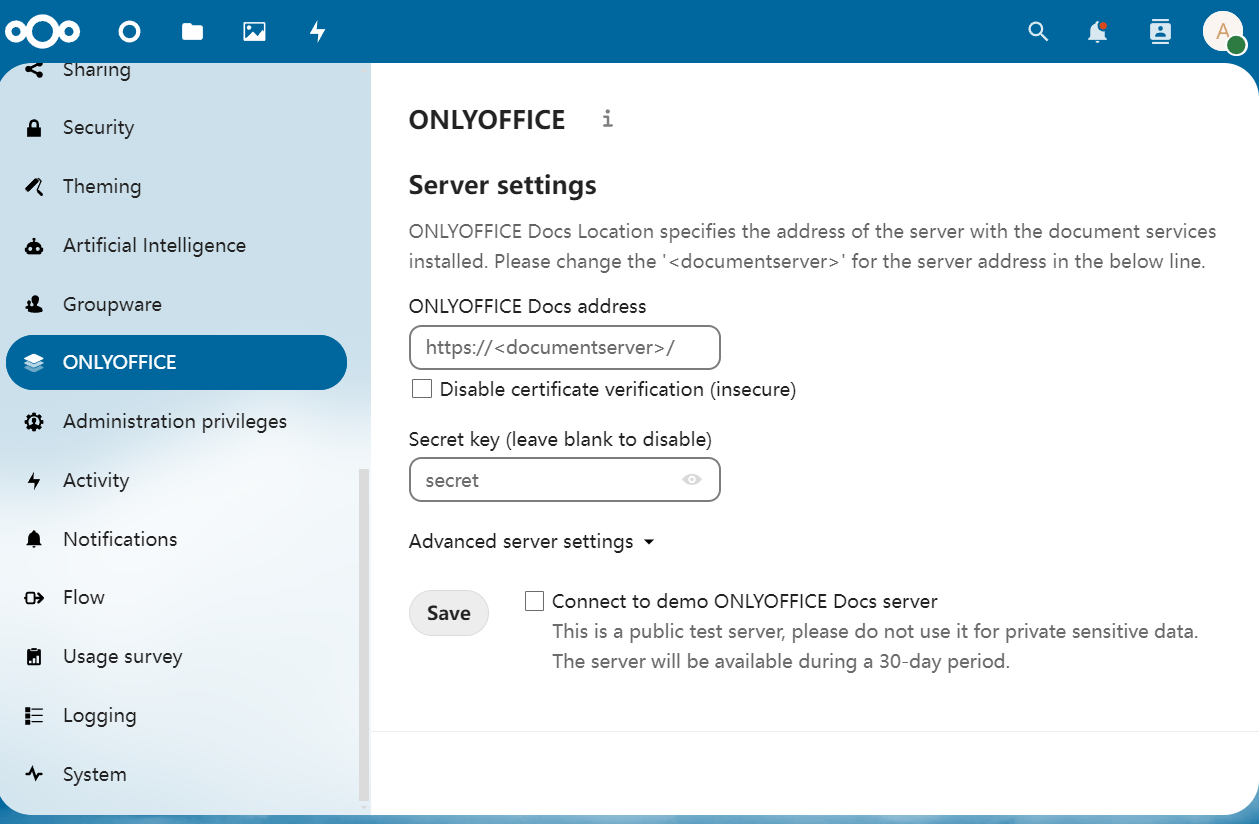
In the Nextcloud console, click the top-right gear icon, select Administration Settings, and find ONLYOFFICE settings. Follow the Integration Guide for ONLYOFFICE.

-
After the installation is complete, locate the SETUP page and configure ONLYOFFICE as shown (refer to the official documentation).
Install the Application Offline
-
From the Nextcloud App Market, find the app package URL and download it to the server.
-
Extract it to the Nextcloud container's /var/www/html/apps directory.
-
Enter the container CLI and change the permissions of the apps directory:
chown -R www-data:www-data /var/www/html/apps/appname -
Log in to the Nextcloud backend, enter the application center, and enable the extension.
WebDAV Service
WebDAV is used to establish a connection between a local computer and Nextcloud:
- In the Nextcloud console, go to File > File Settings to get the WebDAV URL.
- On a local Windows PC, configure the WebDAV client.
Connecting to External Storage
Nextcloud supports many popular enterprise storage services. The steps to use them are as follows:
-
Log in to the Nextcloud backend, select Apps > Your Apps, and enable External storage support.
-
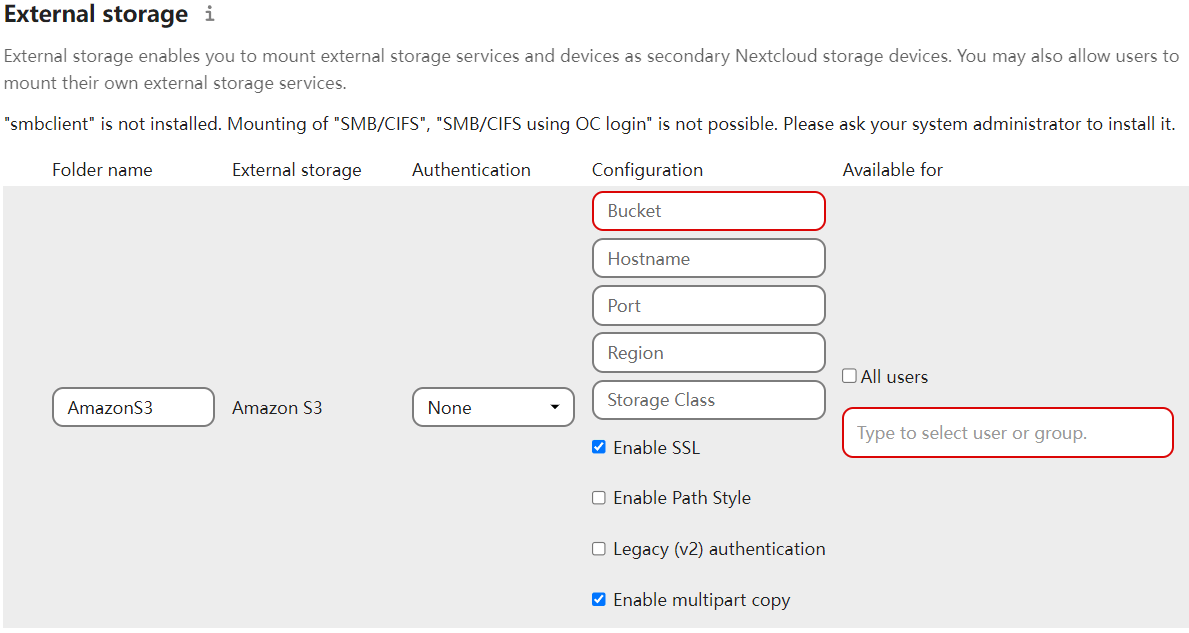
In Administration Settings of the Nextcloud backend, set up external storage with S3 compatibility protocol settings:
- Bucket: Corresponds to the storage bucket of some vendors.
- Hostname: Corresponds to the Endpoint of some vendors.
- Access Key: Generally required.

Rebuild Indexes
After moving or copying the Nextcloud data directory to another location, run occ files:scan --all to rebuild the index.
Secure Use of HTTPS
-
In the Websoft9 console, select Gateway, edit the proxy for the Nextcloud application, clear Custom Nginx Configuration in Advanced, and save it.
-
Select My Apps > Compose > Go to Edit Repository > .env and uncomment the line OVERWRITEPROTOCOL to rebuild the application.
Configuration Options
-
App Market (✅)
-
Configuration file (mounted):
/var/www/html/config/config.php -
Multilingual (✅): Configured through Personal Settings.
-
SMTP (✅): Configured via Administration Settings > Basic Settings > Email Servers
-
Mainstream External Storage Service: Amazon S3, Dropbox, FTP, Google Drive, SMB, WebDAV, SFTP, etc.
-
Mobile (✅): Nextcloud Desktop Client, Nextcloud Android App, Nextcloud iOS App.
-
CLI:
occfor installing and upgrading Nextcloud, managing users, managing passwords, and more.
Administration
-
Modify URL: The configuration file parameter
overwrite.cli.urldefaults to wildcard, which can automatically apply to any URL change. -
Online Backup: Install OwnBackup to achieve online backup.
Troubleshooting
Not find Talk and Assistant of Nextcloud?
You should enable these modules after your first starting Nextcloud.
Disable ONLYOFFICE Certificate Validation?
If Nextcloud is using HTTPS, ONLYOFFICE must also use HTTPS, or the connection will fail.
You can disable certificate verification by configuring the Nextcloud backend plugin or adding the following to the configuration file:
'onlyoffice' =>
array (
'verify_peer_off' => TRUE,
),
Can't Install Apps Due to Network Timeout?
Refer to the Install Apps Offline scenario.