Version: 1.0

OpenCart Getting Started

OpenCart is an easy to-use, powerful, open source online store management program that can manage multiple online stores from a single back-end. Administrative area simply by filling in forms and clicking “Save”. There are many professionally-written extensions available to customize the store to your needs.it have 13000+ modules and themes on Marketplace for all your needs.
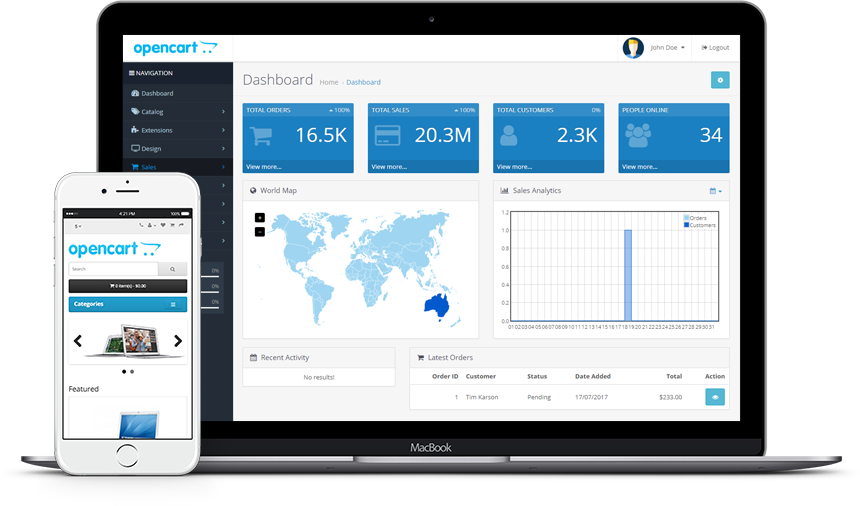
If you have installed Websoft9 OpenCart, the following steps is for your quick start

Preparation

  1. Get the Internet IP on your Cloud Platform
  2. Check you Inbound of Security Group Rule of Cloud Console to ensure the TCP:80 is allowed
  3. Get default username and password of OpenCart
  4. Complete Five steps for Domain if you want to use Domain for OpenCart

OpenCart Initialization

Steps for you

  1. Using local Chrome or Firefox to visit the URL https://domain or https://Internet IP,you will enter initial wizard of OpenCart
  2. Agree license, Click "Continue"
  3. Verify the environment and go to next step
  4. Set up an administrator account
  5. When the configuration is completed,it will go the following interface
  6. Please delete /data/apps/opencart/data/opencart/install folder.
  7. You can use OpenCart now

More useful OpenCart guide, please refer to OpenCart Docs to get more details

Having trouble?

Below is for you to solve problem, and you can contact Websoft9 Support or refer to Troubleshoot + FAQ to get more.

OpenCart QuickStart

OpenCart Setup

OpenCart Extension

OpenCart have 13000+ extention published on the Marketplace, how to insatll them?

  1. Find the extension you want to used on Marketplace and download it

  2. Log in OpenCart console, open:【Extensions】>【Installer】

  3. Upload your extension compressed file

  4. Installing it

OpenCart language

Enable a new language package in Opencart have the following steps(e.g Chinese lanuage)

  1. Go to OpenCart Marketplace, download suitable lanuage package

  2. Unzip package, you can see a folder name upload that includes two folder admin, catalog

  3. Use SFTP to upload them to your Server

    admin->language->zh_cn  to  /data/apps/opencart/data/opencart/admin/language
    catalog->language->zh-cn to /data/apps/opencart/data/opencart/catalog/language
  4. Log in OpenCart, go to【System】>【localization】>【languages】, add new language and configure it websoft9

  5. Enable language both for catalog and admin: open 【System】>【Settings】, the 【Language】 for catalog, 【Administration Language】for admin websoft9

  6. Refresh OpenCart, display the new language

OpenCart vQmod

Opencart 2.0 using vQmod for installing extensions, so you need to install and enable vQmod:

  1. Download vQmod
  2. Go to Extensions > Installer, upload vqmod.zip
  3. Go to Extensions > Extensions > Modules > Integrated VQmod to install and then edit to enable this module

SMTP

  1. Log in SendGrid console, prepare your SMTP settings like the follow sample

    SMTP host: smtp.sendgrid.net
    SMTP port: 25 or 587 for unencrypted/TLS email, 465 for SSL-encrypted email
    SMTP Authentication: must be checked
    SMTP Encryption: must SSL
    SMTP username: websoft9smpt
    SMTP password: #fdfwwBJ8f
  2. Log in OpenCart console as administrator, configure SMTP

    • SMTP Hostname: tls:// or ssl:// is need
    • Make sure you have input correct SMTP items
  3. Send testing Email

OpenCart change domain

You can change the domain of OpenCart by the following steps:

  1. Complete the new Domain resolution and Domain binding
  2. Modify the OpenCart configuration config.php in the root directory
    // HTTP
    define('HTTP_SERVER', 'http://example.com/');
    // HTTPS
    define('HTTPS_SERVER', 'https://example.com/');
  3. Modify the OpenCart configuration admin/config.php in the root directory
    // HTTP
    define('HTTP_SERVER', 'http://www.example.com/admin/');
    define('HTTP_CATALOG', 'http://www.example.com/');
    // HTTPS
    define('HTTPS_SERVER', 'http://www.example.com/admin/');
    define('HTTPS_CATALOG', 'http://www.example.com/');
  4. Restart PHP-FPM Service

Reference sheet

The below items and General parameter sheet is maybe useful for you manage OpenCart

Run docker ps command, view all Containers when OpenCart is running:

CONTAINER ID   IMAGE                         COMMAND                  CREATED         STATUS         PORTS                                                  NAMES
b6addfb7c879 phpmyadmin:latest "/docker-entrypoint.…" 6 minutes ago Up 6 minutes 0.0.0.0:9090->80/tcp, :::9090->80/tcp phpmyadmin
25555368fb33 websoft9dev/opencart:latest "docker-php-entrypoi…" 7 minutes ago Up 7 minutes 0.0.0.0:9001->80/tcp, :::9001->80/tcp opencart
172c1fafc338 mysql:5.7 "docker-entrypoint.s…" 7 minutes ago Up 7 minutes 0.0.0.0:3306->3306/tcp, :::3306->3306/tcp, 33060/tcp opencart-db

Path

OpenCart installation directory: /data/apps/opencart
OpenCart catalog configuration file: /data/apps/opencart/data/opencart/config.php
OpenCart admin configuration file: /data/apps/opencart/data/opencart/admin/config.php

Port

No special port

Version

cat /data/apps/opencart/data/opencart/index.php |grep VERSION |cut -d"'" -f4

Service

sudo docker start | stop | restart | stats opencart

CLI

API

curl http://myopencart.example.com/index.php?route=api/cart/add

Refer to OpenCart API