Version: 1.0

AWX Getting Started

AWX is the Ansible Tower's open source edition,AWX provides a web-based user interface, REST API, and task engine built on top of Ansible. It is the upstream project for Tower, a commercial derivative of AWX.

If you have installed Websoft9 AWX, the following steps is for your quick start

Preparation

  1. Get the Internet IP of your Server on Cloud
  2. Check your Inbound of Security Group Rule of Cloud Console to ensure the TCP:80 is allowed
  3. Complete Five steps for Domain if you want to use Domain for AWX
  4. Get default username and password of AWX

AWX Initialization

Steps for you

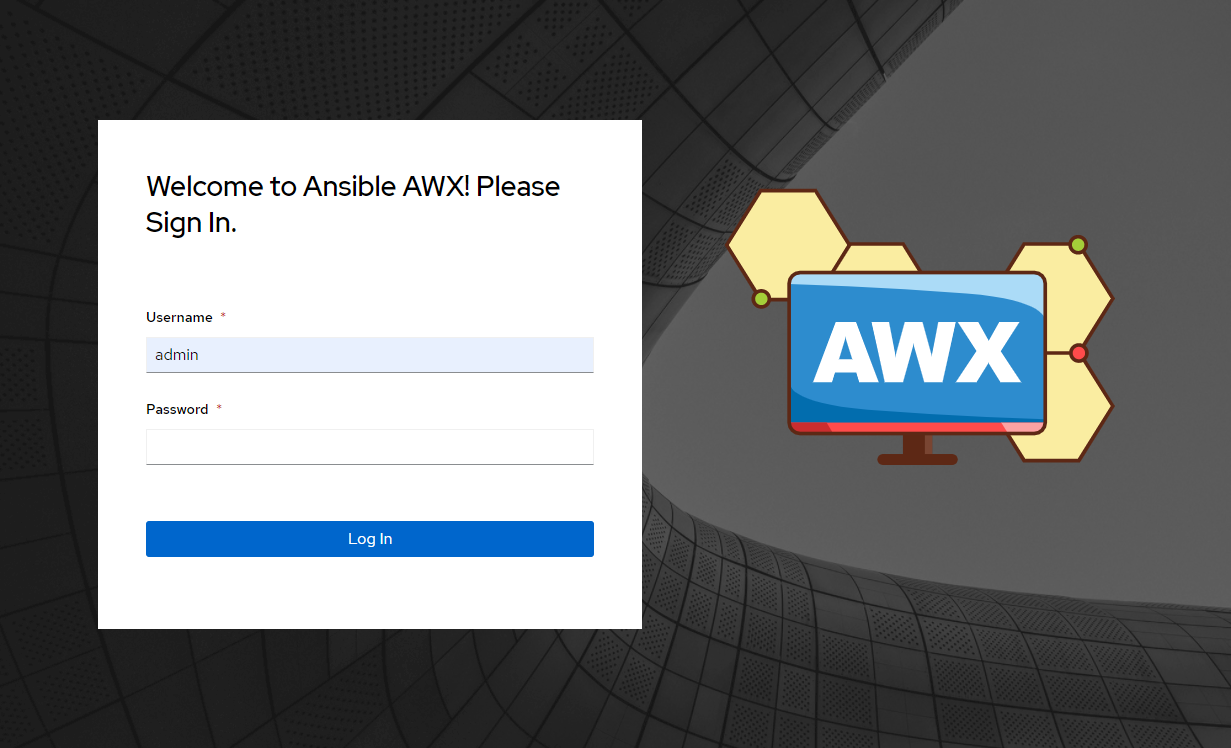
  1. Using local browser visit the URL http://DNS or http://Server's Internet IP, enter to login interface AWX login page

  2. Login it to AWX console (Don't know password?) AWX console

More useful AWX guide, please refer to Ansible Tower Documentation

Having trouble?

Below is for you to solve problem, and you can contact Websoft9 Support or refer to Troubleshoot + FAQ to get more.

AWX QuickStart

Now, we will give use sample How to run Ansible repository by AWX for your practice

Concept

You must understand some import concept before your practice:

AWX console

  • Inventories: A list of managed nodes

  • Credentials: Username and password or key of nodes

  • Projects: Ansible project, most of time it is a Github repository

  • Templates: It is a definition and set of parameters for running an Ansible job

  • Jobs: It is an instance of Tower launching an Ansible playbook against an inventory of hosts.

Prepare

Before using AWX to run an Ansible project, please ensure that the following conditions are met:

  • Prepare your Ansible project, e.g. Grafana
  • Prepare your one node and run the following command for runtime preparation
    wget -N https://cdn.statically.io/gh/Websoft9/ansible-linux/main/scripts/install.sh; bash install.sh

Steps

Below we begin to list the specific steps:

  1. Login AWX and create 【Inventories】, then add 【Host】 in it.

    create Inventories

    create host

    create host

  2. Create 【Credentials】, the following example Create Credentials

  3. Create 【Project】, the following example is use Grafana powered by Websoft9

    create Project

  4. Create 【Templates】, associate 【Credentials】,【Inventories】,【Project】 in one interface Create template

    You can set it by add extra variable directly

  5. Go to Template and start a 【Job】 Job running

AWX Setup

DNS Additional Configure(Modify URL)

Complete Five steps for Domain ,Set the URL for AWX:

Log in to AWX, open: [Settings] > [System], and modify the default URL

容器中配置 SSL/HTTPS

通过向 AWX 容器持久化存储目录增加证书的方式来配置 HTTPS,具体如下:

  1. 修改(检查) /data/.awx/docker-compose.yml 文件,确保有如下两项 "- 443:443" 和 "- /data/cert:/etc/ssl/certs":

    ports:
    - "80:8052"
    - "443:443"
    hostname: awxweb
    user: root
    restart: unless-stopped
    volumes:
    - /data/cert:/etc/ssl/certs
  2. 上传证书到 /data/cert 目录

  3. 打开虚拟主机配置文件:/data/.awx/nginx.conf ,插入如下的 HTTPS 配置项 到 server 段落中,保存

    #-----HTTPS template start------------
    listen 443 ssl;
    ssl_certificate /etc/ssl/certs/xxx.crt;
    ssl_certificate_key /etc/ssl/certs/xxx.key;
    ssl_trusted_certificate /etc/ssl/certs/chain.pem;
    ssl_session_timeout 5m;
    ssl_protocols TLSv1 TLSv1.1 TLSv1.2;
    ssl_ciphers ECDHE-RSA-AES128-GCM-SHA256:HIGH:!aNULL:!MD5:!RC4:!DHE;
    ssl_prefer_server_ciphers on;
    #-----HTTPS template end------------

    以上的配置文件中的路径必须是 awx-web 容器虚拟机的路径:/etc/ssl/certs

  4. 运行如下命令,重置容器

    cd /data/.awx
    sudo docker-compose up -d
    docker restart awx_web

Configure SMTP

  1. Get SMTP related parameters in the mailbox management console

  2. Log in AWX Console, open ADMINISTRATION > NOTIFICATIONS

  3. Create new Notification template, then complete the SMTP settings AWX SMTP

Extra variable

AWX support variable outside the Ansible project, it is Extra variable which can help you to pass var_promots

There are two ways of additional variables:

  • Method one: Add additional variables directly on the 【template】 page Ansible-Tower Add additional variables

  • Method two: Edit 【EDIT SURVEY】 link directly on the 【template】 page Ansible-Tower EDIT SURVEY

More details please refer to official docs: Create a Survey

Reference sheet

The below items and General parameter sheet is maybe useful for you manage AWX

通过运行docker ps,可以查看到 AWX 运行时所有的 Container:

CONTAINER ID        IMAGE               COMMAND                  CREATED             STATUS              PORTS                                NAMES
e240ed8209cd awx_task:1.0.0.8 "/tini -- /bin/sh ..." 2 minutes ago Up About a minute 8052/tcp awx_task
1cfd02601690 awx_web:1.0.0.8 "/tini -- /bin/sh ..." 2 minutes ago Up About a minute 0.0.0.0:443->8052/tcp awx_web
55a552142bcd memcached:alpine "docker-entrypoint..." 2 minutes ago Up 2 minutes 11211/tcp memcached
84011c072aad rabbitmq:3 "docker-entrypoint..." 2 minutes ago Up 2 minutes 4369/tcp, 5671-5672/tcp, 25672/tcp rabbitmq
97e196120ab3 postgres:9.6 "docker-entrypoint..." 2 minutes ago Up 2 minutes 5432/tcp postgres

下面仅列出 AWX 本身的参数:

Path

AWX 配置文件目录 /data/.awx
awx_postgres 挂载的目录:/var/lib/postgresql/data
awx_postgres 数据持久存储:/data/pgdocker awx_rabbitmq 挂载的目录:/var/lib/rabbitmq
awx_web 挂载的目录:/var/lib/nginx
awx_task 挂载的目录:/var/lib/nginx

Port

无特殊端口

Version

sudo docker inspect awx_web

Service

#AWX-主程序
sudo docker start | stop | restart | pause | stats awx_task

#AWX-Web界面
sudo docker start | stop | restart | pause | stats awx_web

sudo docker start | stop | restart | pause | stats awx_rabbitmq
sudo docker start | stop | restart | pause | stats awx_postgres
sudo docker start | stop | restart | pause | stats awx_memcached

CLI

先运行 pip install ansible-tower-cli 安装 AWX CLI ,然后配置使用

tower-cli config host http://<new-awx-host.example.com>
tower-cli config username <user>
tower-cli config password <pass>
tower-cli send assets.json
tower-cli user list

更多参考: AWX CLI on AWX Github

API

Ansible Tower API Guide