ONLYOFFICE Workspace
ONLYOFFICE Workspace is Team Collaboration Office Suite, used for Document Collaboration Project and Task Home Server . ONLYOFFICE is a multifunctional portal for business collaboration, document and project management.
Prepare
When referring to this document to use ONLYOFFICE Workspace, please read and ensure the following points:
-
Login to Websoft9 Console and find or install ONLYOFFICE Workspace:
- Go to My Apps listing applications
- Go to App Store installing target application
-
This application is installed by Websoft9 console.
-
The purpose of this application complies with the apache2 open source license agreement.
-
Configure the domain name or server security group opens external network ports for application access.
Getting Started
Initial Setup
-
After completing the installation of ONLYOFFICE Workspace via the Websoft9 Console, retrieve the application's Overview and Access information from My Apps.
-
Access the URL using a local browser, enter the initialization page, and wait for 2-5 minutes until the account setup screen appears.
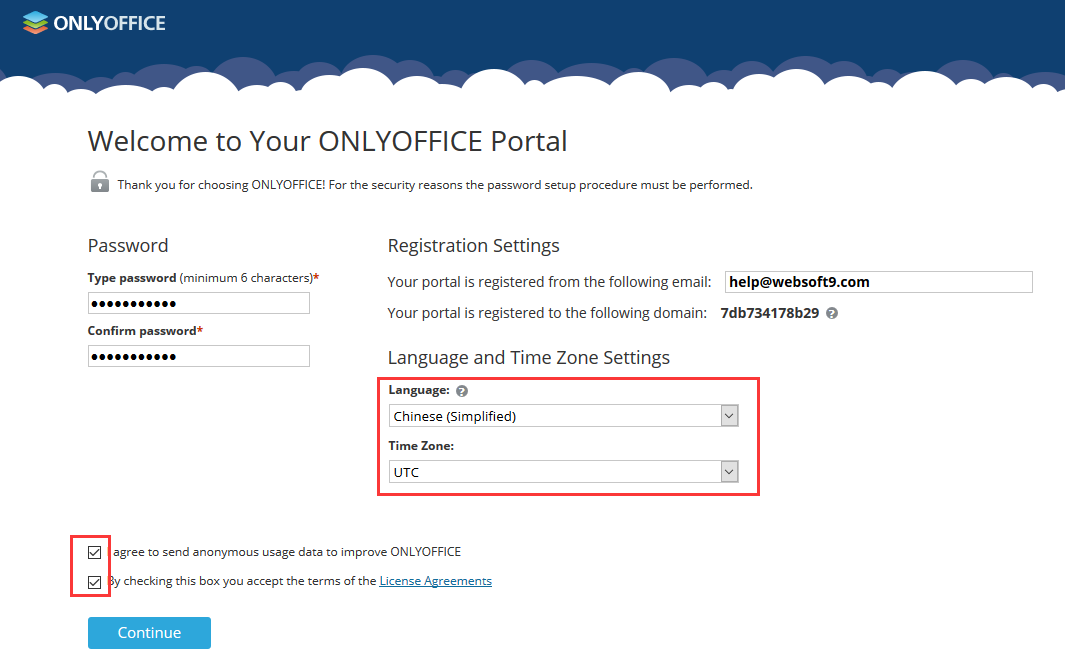
-
Set your password and email address (login name), log in, and start using ONLYOFFICE Workspace.
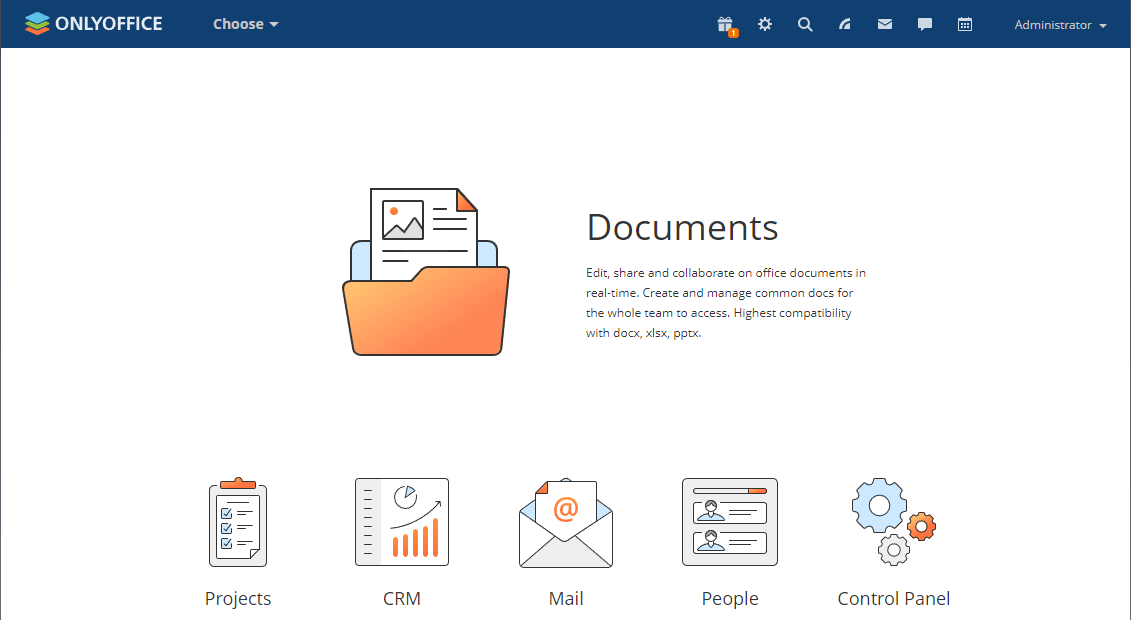
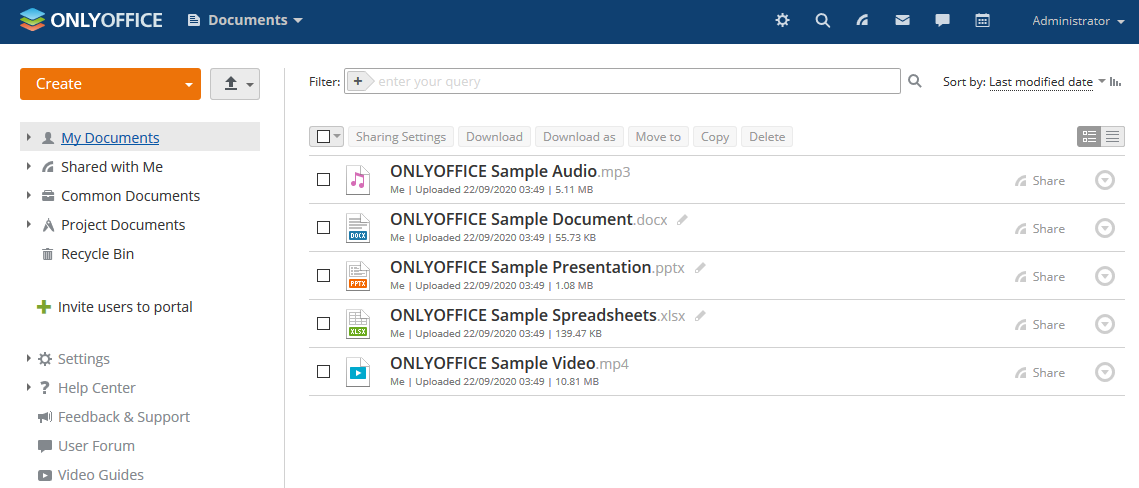
Demonstration of Features
-
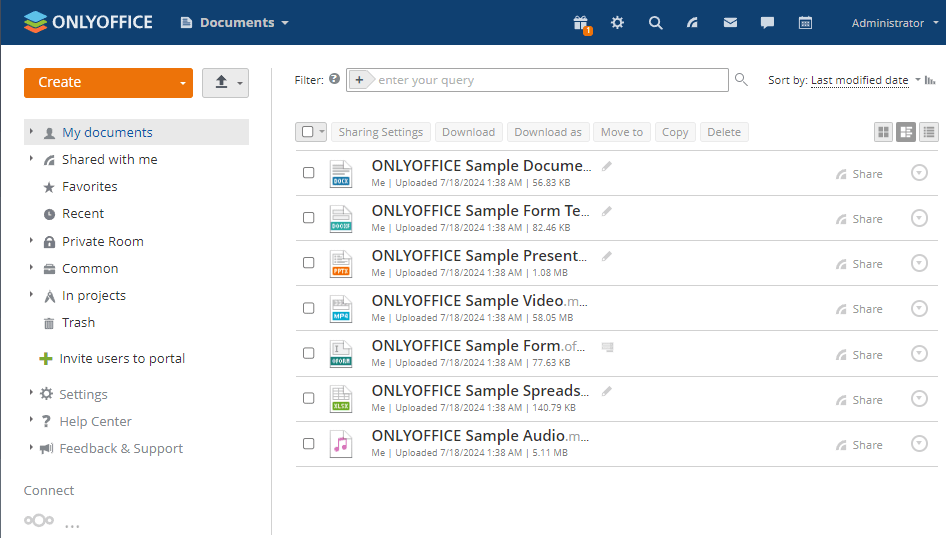
Document Management (with online editing)
-
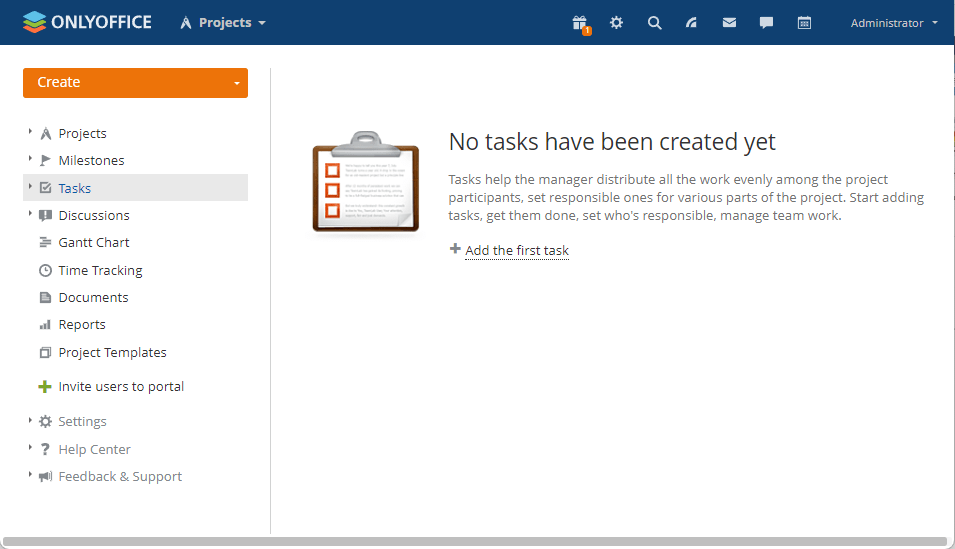
Project Management
-
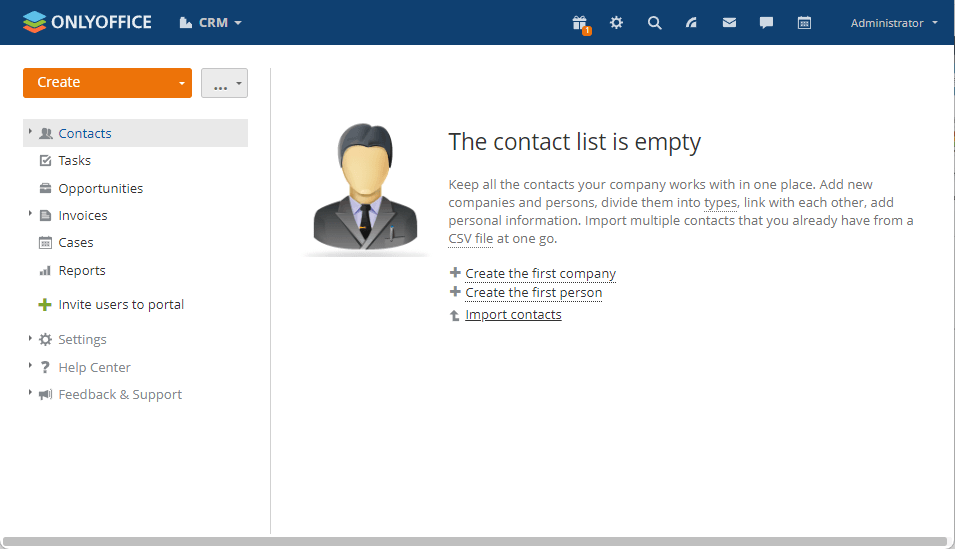
Customer Relationship Management (CRM)
-
Mail Management Portal

-
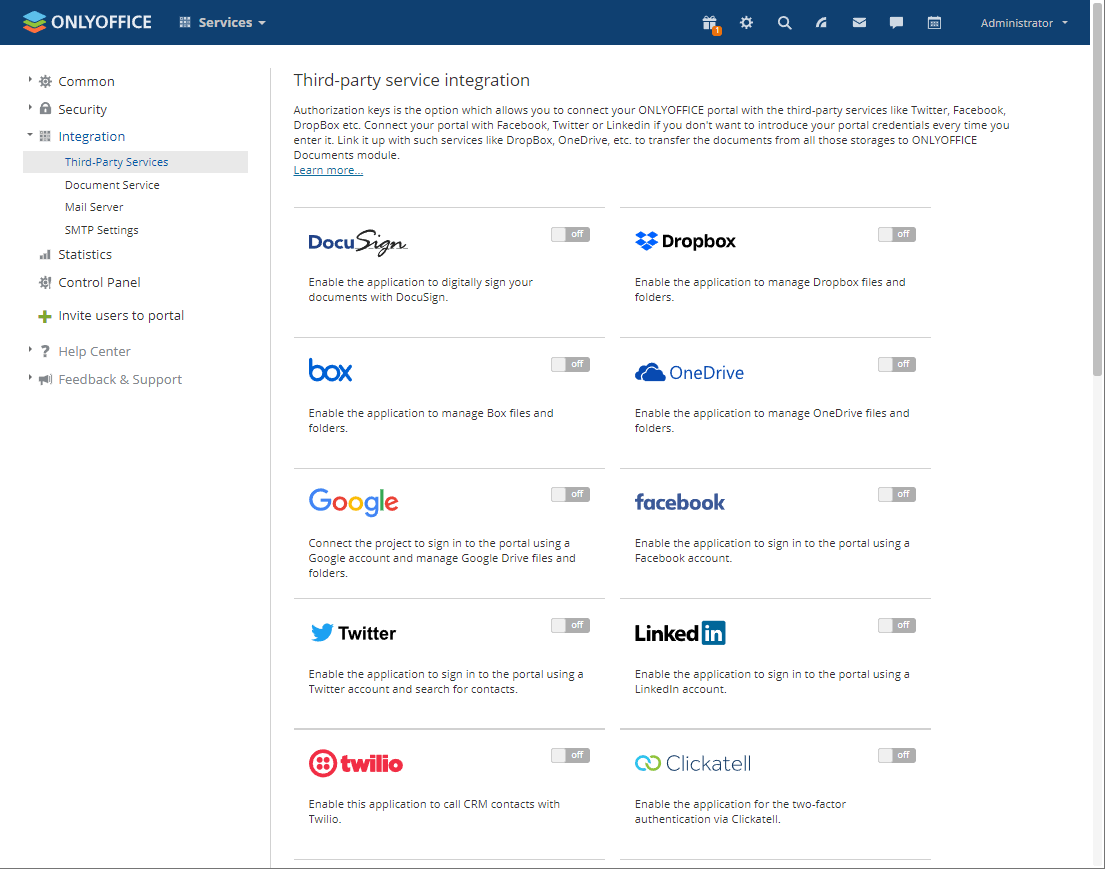
Third-Party Integration
Configuration Options
-
Change Password: Select Administrator > Personal Information > Log out from all active connections.
-
Multilingual (✅)
-
Mail Server (Optional)