Prestashop
Prestashop is Open Source E-commerce Platform, used for eCommerce Content Marketing . PrestaShop is one of the world's most popular ecommerce platforms, and most successful open source projects.
Prepare
When referring to this document to use Prestashop, please read and ensure the following points:
-
Login to Websoft9 Console and find or install Prestashop:
- Go to My Apps listing applications
- Go to App Store installing target application
-
This application is installed by Websoft9 console.
-
The purpose of this application complies with the OSL-3.0 open source license agreement.
-
Configure the domain name or server security group opens external network ports for application access.
Getting Started
Initial Setup
-
After completing the installation of PrestaShop on the Websoft9 Console, retrieve the application's Overview and Access information from My Apps.
-
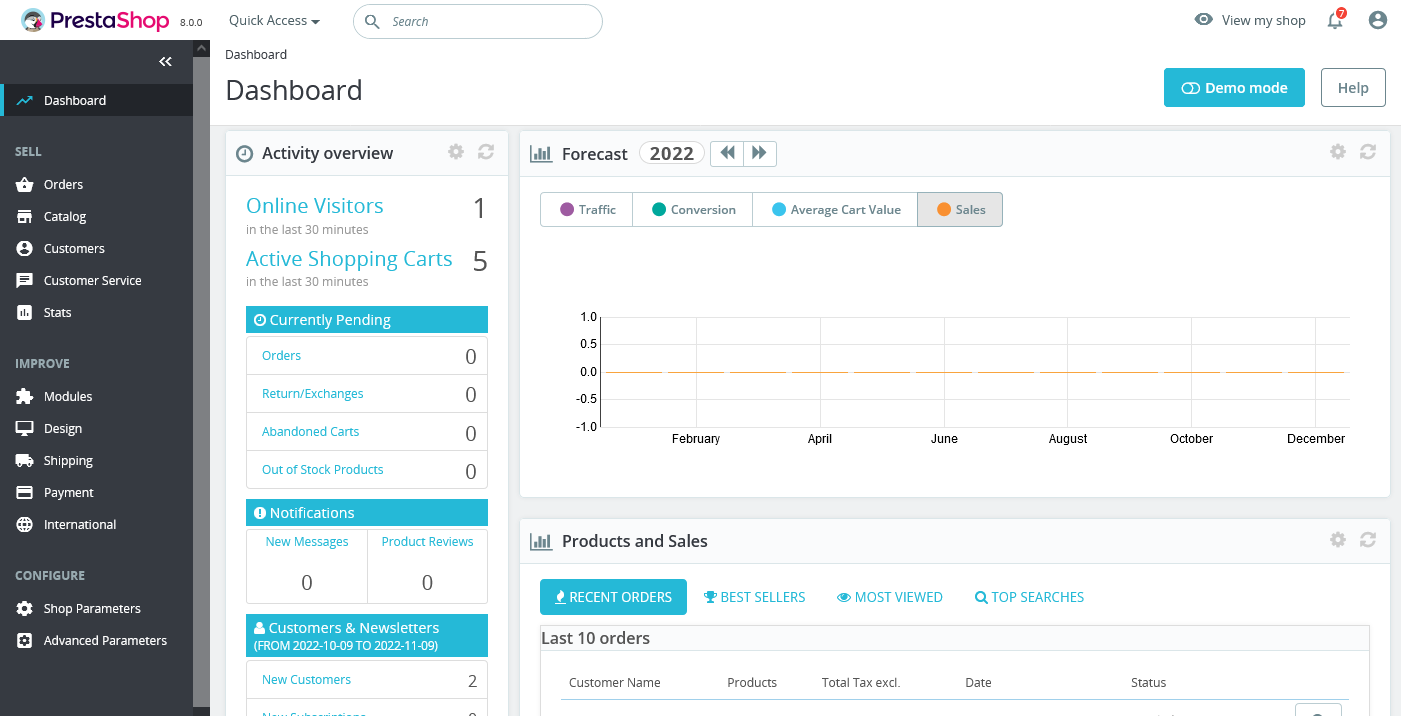
Log in to the PrestaShop backend(/psadmin):
-
Click on the Shop Parameters > Traffic & SEO > SEO & URLs item on the left menu and scroll down to the Set shop URL on the page
-
If you access PrestaShop through a domain name, remove the port from the default URL and Save the changes to apply them.
Installing Extensions from the Marketplace
PrestaShop 8.0 does not support direct online connection to the Marketplace via the backend. To install extensions, follow these steps: Purchase > Download Extensions > Import into Backend.
Configuration Options
-
Maintenance Mode (✅): Shop Parameters > General > Maintenance
-
Extended Marketplace (✅)
-
SMTP (✅): Advanced Parameters > Email
-
Demo Data Import (✅): Advanced Parameters > Import
-
Online Installation of Extensions (✅): Supports online installation, uninstallation, and upgrading of extensions.
-
Multilingual Support (✅)
-
Import Languages Online (✅): International > Translations > Add / Update a Language. Note: Chinese is not available for import at this time.
-
Developer Mode (✅)
-
URL Update: Navigate to Shop Parameters in the left menu, scroll down to the Set Shop URL section.
-
Background Login Address: Accessible through Websoft9 Console under My Applications.
-
CLI Commands:
# List all available CLI commandsphp bin/console list# Get help for prestashop:configphp bin/console prestashop:config -h
Administration
-
Database Backup: PrestaShop offers a backend database backup feature: Advanced Parameters > SQL Manager.
-
Online Upgrade: Use PrestaShop's Module Manager to install and enable the 1-Click Upgrade module for seamless updates.
Troubleshooting
Why does the PrestaShop URL always display the port number?
You need to log in to the backend, then navigate to Fix URL to resolve this issue.
Can't access the frontend after configuring HTTPS?
In the database, set the ps_configuration properties PS_SSL_ENABLED_EVERYWHERE and PS_SSL_ENABLED to 1.
Experiencing a PrestaShop redirection error?
Redirection errors are common in multilingual setups. For example, opening the Chinese version of your PrestaShop store may result in a redirection error.
Solution:
- Check the
.htaccessfile in the root directory of your website for any misconfigurations or deadlocks. - Remove the self-installed language pack and re-import it. PrestaShop will automatically generate new pseudo-static rules that overwrite the original
.htaccessfile.